How to Resize an Image Without Blur or Stretching
To resize an image, pick a target, either exact pixels, a percentage or a platform preset, keep the aspect ratio locked so nothing stretches, and shrink from the largest original you have. GrabCast's Resize Image tool does all three in your browser, handles a whole batch at once and lets you download everything as a ZIP. Three ideas sit underneath every resize: an image is a grid of pixels, width and height are tied by a ratio, and shrinking and enlarging behave very differently. Get those straight and resizing stops being guesswork.
📐 Try the Resize Image tool now — freeOpen →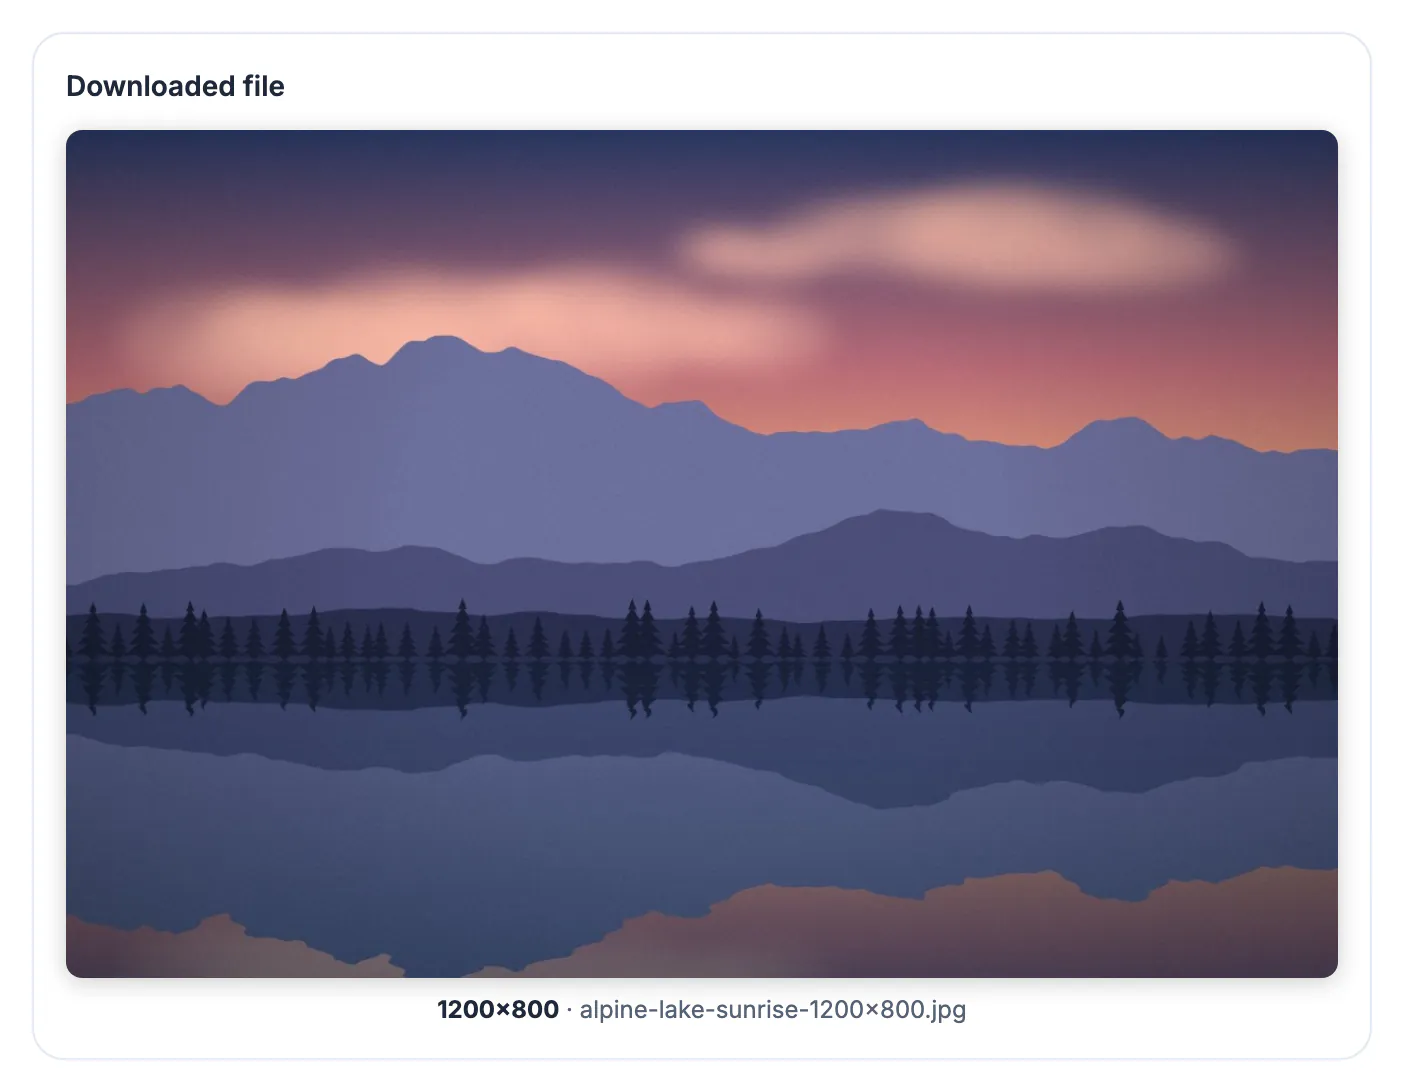
Most blurry, squashed or bloated images come from a choice made before the resize, not from the software. Stretching a 4:3 photo into a 16:9 slot distorts faces. Enlarging a 400-pixel thumbnail for a poster produces mush. Uploading a 6,000-pixel phone photo to a website makes the page crawl. Each of those is avoided by answering two questions first: what size does the destination actually need, and is the source bigger or smaller than that? Any resizer will faithfully do what you ask, including the wrong thing, so the thinking is the part that makes the result look professional.
Three ways to resize an image
The tool offers three modes, and each suits a different job.
- Pixels: type a width or a height and the other side is calculated when Keep aspect ratio is checked; ideal when a form or template demands a precise size
- Percent: scale from 5 to 300 percent, always keeping proportions; handy for a batch of mixed sizes you want reduced by the same amount
- Social media sizes: 16 presets, from Instagram post 1080×1080 and Story 1080×1920 to YouTube thumbnail 1280×720, LinkedIn banner 1584×396, Full HD, 4K and a Passport 2×2 in square of 600×600
A worked example: a 4032×3024 phone photo resized to 1,600 pixels wide becomes 1600×1200 with the ratio locked. In Pixels mode, if you fill in both boxes with the ratio still locked, the image fits inside that box without distortion, so 1600×1600 gives you 1600×1200, not a square.
Aspect ratio, and when to crop instead
Aspect ratio is the fixed relationship between width and height, such as 3:2, 4:3 or 16:9. Keeping it locked is what stops distortion.
- Unlock the ratio only when you truly need exact numbers in both directions and can accept squashing, which is rarely true for photos
- When the target shape differs from the photo, crop to that shape first with Crop Image, then resize
- Presets handle the mismatch for you with a Fit choice: Crop to fill trims the edges, Fit plus blurred background keeps the whole photo with a soft fill, and Fit plus solid background adds bars in a color you pick
- A 3000×2000 landscape forced into 1080×1920 loses most of its width with Crop to fill, so check the preview before downloading a batch
Resize, crop and compress are three different operations. Resizing changes the pixel dimensions, cropping changes what is in the frame, and compression changes how many kilobytes the same pixels take. Mixing them up is the root of most frustration.
Shrinking keeps quality, enlarging cannot
This is the single most useful fact about resizing.
- Shrinking discards pixels the eye did not need, so downsized images stay crisp; large reductions are done in high-quality steps to avoid jagged edges and moire
- Enlarging above 100 percent has to invent pixels, which reads as soft; for real added detail, use the AI Image Upscaler instead
- Always start from the largest original, never a copy already reduced by a messaging app or a website
- Print size is pixels divided by DPI: 1800×1200 pixels prints 6×4 inches at 300 DPI, and changing the DPI number alone does not change the pixels
For the web, a width of 1,200 to 2,000 pixels covers almost every layout, and resizing a phone photo to that range usually cuts the file size by 70 to 90 percent before any compression.
Formats, batches and the limits to know
Resize Image accepts JPG, PNG, WebP, GIF, BMP and AVIF where your browser supports them, and exports JPG, PNG or WebP, or keeps the original format.
- Drop many images at once; every one gets the same size, and each card shows the new dimensions and file size
- Download files one by one or click Download all as ZIP; the new size is added to each file name
- Choose PNG or WebP for transparent graphics, because a JPG fills clear areas with white
- Outputs larger than about 60 megapixels are refused, since the browser could run out of memory
- Resizing happens on a canvas in your browser, so photos never reach a server; only the ZIP helper loads from a public CDN
An animated GIF becomes a single still frame when resized on a canvas, so use a dedicated GIF tool when the animation matters.
▶ Watch: How to resize an image (0:39)
Video transcript
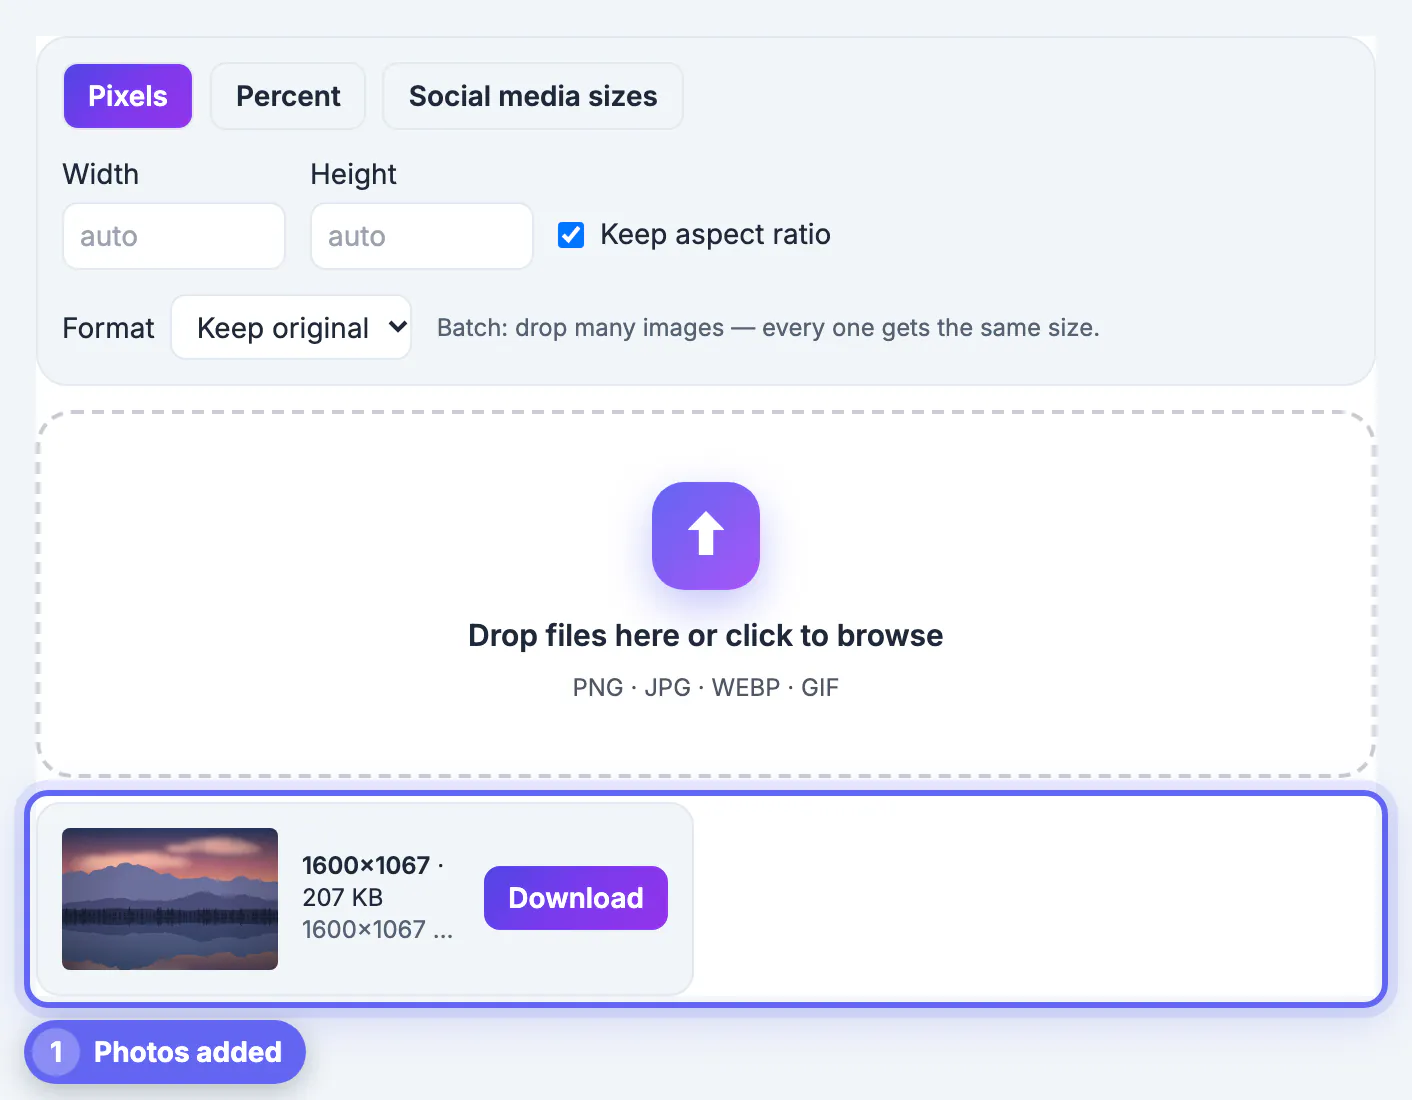
- Add your image. Drop a photo in the box. You will see its current size right away.
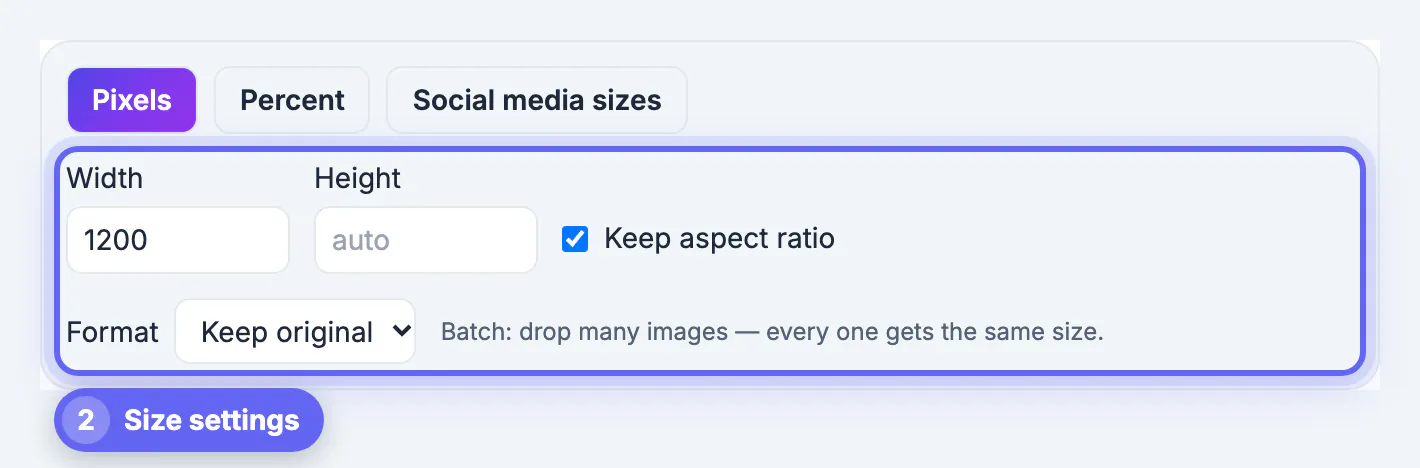
- Choose Pixels. Pixels lets you type an exact width or height for the new image.
- Type the new width. Keep aspect ratio stays on, so the height follows and nothing looks stretched.
- Pick a format. JPG is the safe choice for photos. Use PNG or WebP when you need them.
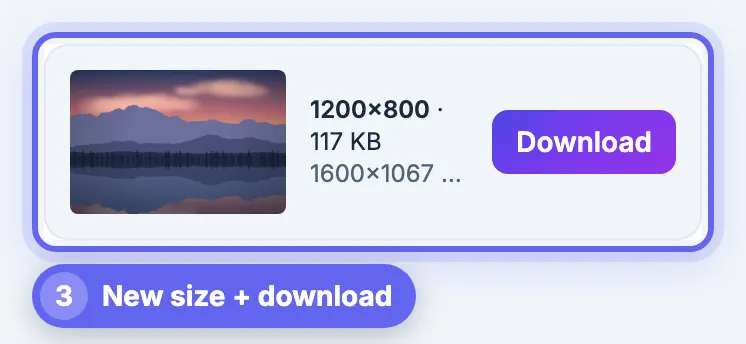
- Download the result. Check the new size, then download. Your original photo is not changed.
Step-by-step
Common mistakes to avoid
Pro tips
Frequently asked questions
Should I resize by pixels or percentage?
Use pixels when a destination requires a specific size, and percent when you just want everything a set amount smaller. Both keep proportions when the ratio stays locked.
Why does my image look blurry after resizing?
Blur almost always comes from enlarging past the original size. Shrinking keeps images sharp because it removes detail rather than inventing it.
How do I resize an image without stretching it?
Keep Keep aspect ratio checked and enter only the width or only the height. If the target has a different shape, crop first or use a preset with Crop to fill or a blurred background.
Does resizing upload my photo anywhere?
No. Resizing happens on a canvas in your browser, so images never reach a GrabCast server.
Can I resize many images at once?
Yes. Drop a batch and every image gets the same size, then save them together with Download all as ZIP. There is no watermark or account.
Decide the destination size, keep the aspect ratio locked, shrink from the largest original and crop when the shape has to change. Resize Image then does the work free in your browser, one photo or a whole batch, with a ZIP download and no watermark.
Related guides
Browse more: all image guides · the Resize Image tool