How to Resize an Image for Instagram (Free, Right Sizes)
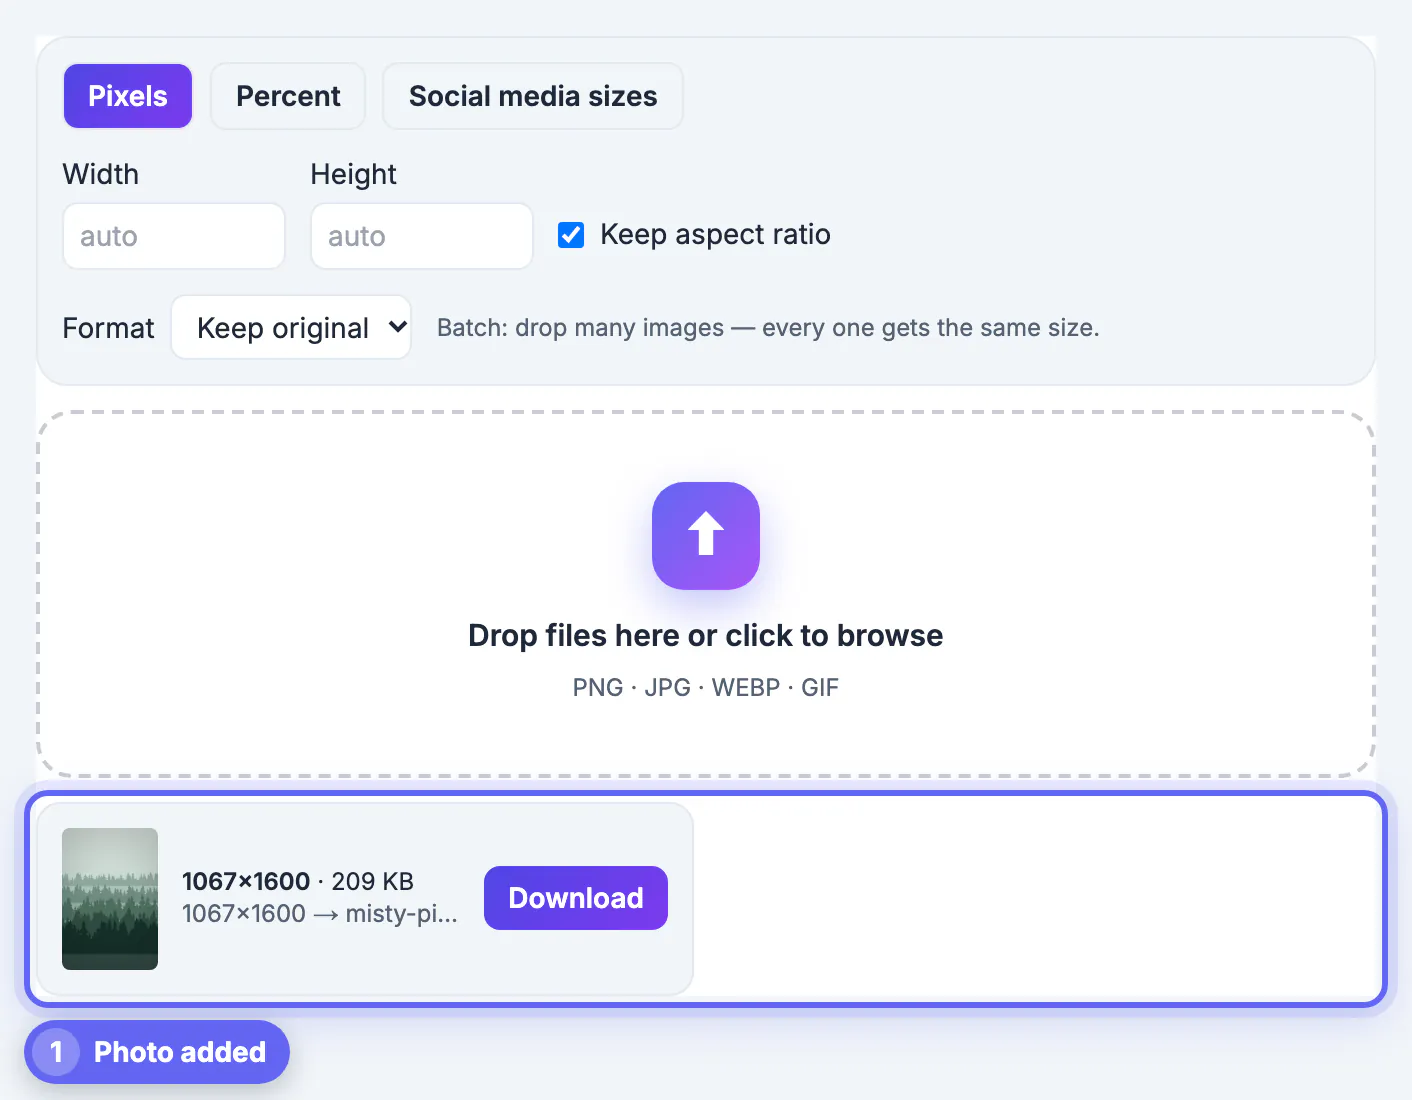
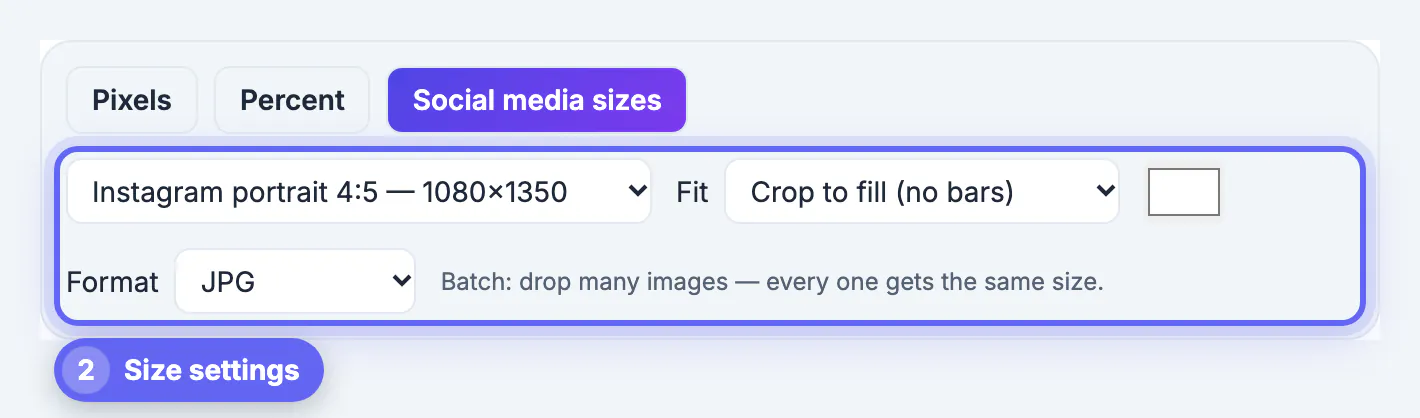
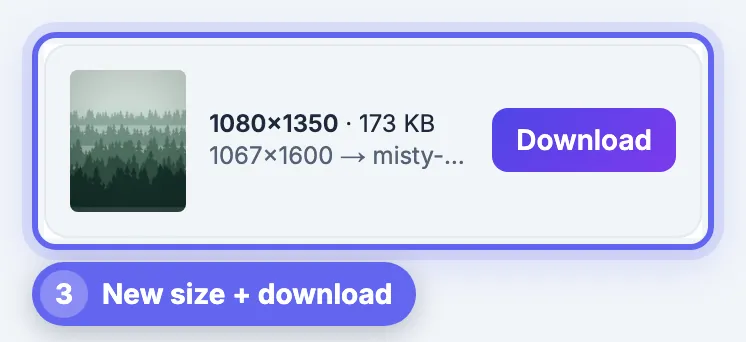
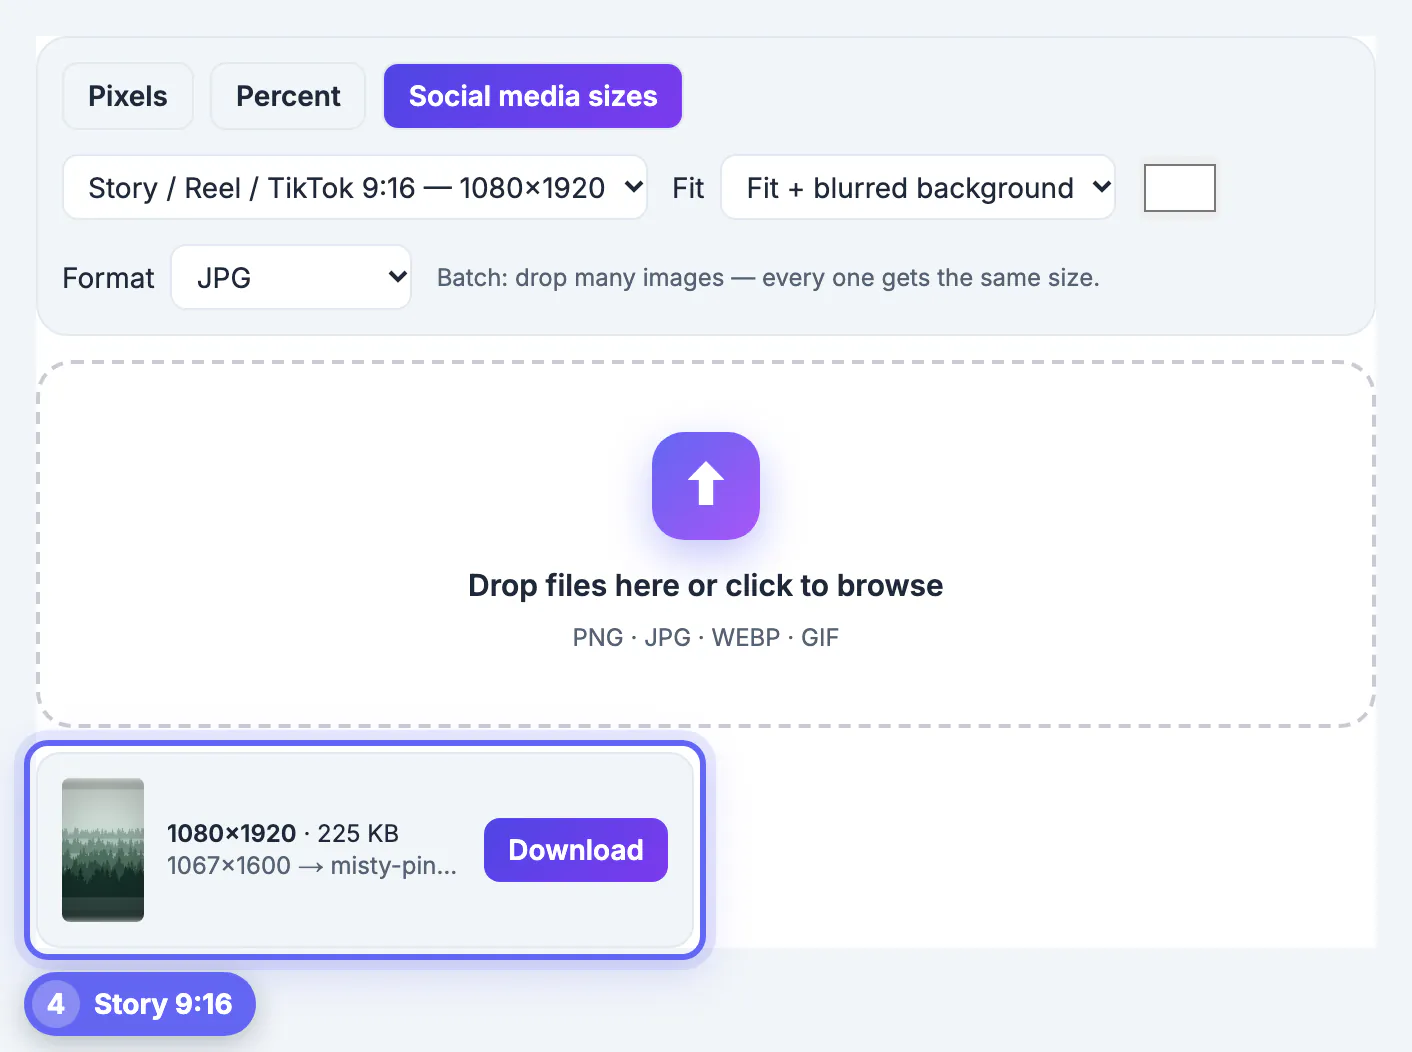
To resize an image for Instagram, choose the shape first (square 1:1, portrait 4:5 or Story and Reel 9:16), then resize or crop the photo to 1080 pixels wide at that shape and save it as a JPG. GrabCast's free Resize Image has all three as presets: 1080 × 1080, 1080 × 1350 and 1080 × 1920. In the example a tall 1067 × 1600 forest photo became a 1080 × 1350 portrait (173 KB) with Crop to fill, and a 1080 × 1920 Story (225 KB) with a blurred background so nothing was cut off. This guide explains which shape to pick, how the fit options differ and why Instagram may still recompress your file.
📸 Try Resize Image now — freeOpen →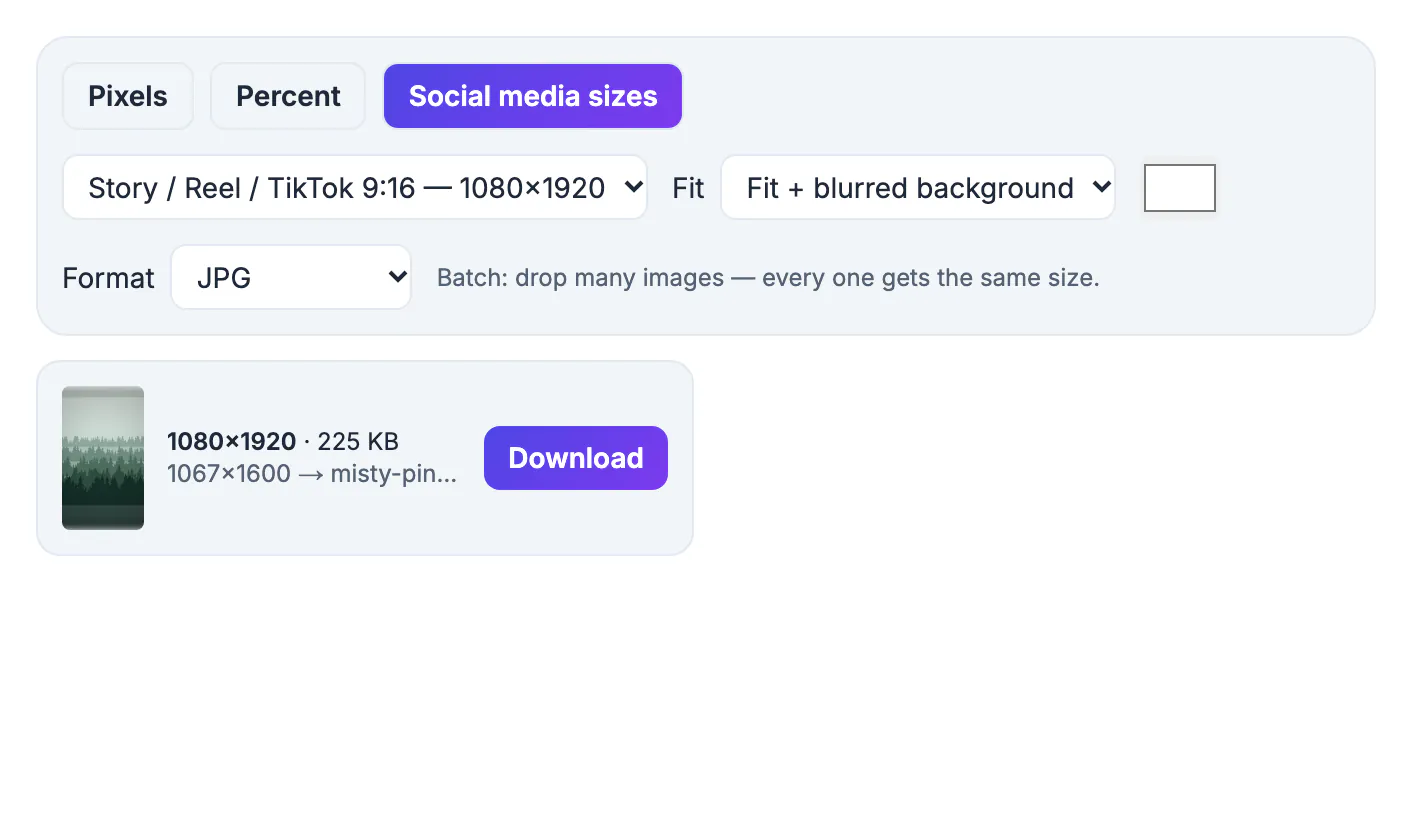
Instagram scales and recompresses every upload. If the photo is the wrong shape, the app crops it, often through a face or a product; if it is much larger than needed, you pay in upload time without a visible benefit; if it is too small, it looks soft on a big phone. Preparing the image yourself at the right shape and a sensible width means you decide what is cropped and what quality is uploaded.
Pick the shape when you resize for Instagram
- Square (1:1), 1080 × 1080: safe for any subject, reads well in a grid.
- Portrait (4:5), 1080 × 1350: takes more room in the feed than a square, and is a good choice for people and products photographed upright.
- Story, Reel and TikTok (9:16), 1080 × 1920: full-screen vertical; keep important content away from the top and bottom, where the interface overlaps.
Instagram changes how it crops feeds and grids from time to time, so check its current help pages before a campaign. The 1080-pixel width has been the standard for feed images for a long time and is a safe default.
Crop to fill or fit with a blurred background
The Fit option decides what happens when the photo has a different shape from the target:
- Crop to fill (no bars): scales the photo until it covers the whole frame and trims the overflow. In the example, the 2:3 forest photo lost a little from the top and bottom to become 4:5.
- Fit + blurred background: keeps the whole photo and fills the leftover space with a blurred, enlarged copy, a popular look for Stories.
- Fit + solid background: same, with a color of your choice. Keep original does not change the shape.
Crop when the subject is central. Use the blurred background when cropping would cut something important, such as a full-length person or a product with text.
File format and size
Choose JPG as the format for photographs. In the test the source was 209 KB, the portrait 173 KB and the Story 225 KB; the Story is larger because it has more pixels. There is no need to make the file tiny: Instagram will compress it anyway. Keep the quality high and avoid double-compressing, by resizing from the original and not from a version you already saved. For graphics with text, PNG keeps letters cleaner, but files are larger.
Batch and privacy
Drop several photos and each is resized with the same settings, so a whole set for a post carousel gets consistent crops. The work happens in your browser, so nothing is uploaded until you post. For other social sizes, the same Social media sizes list includes YouTube thumbnails, Facebook covers and X posts, and you can plan the whole schedule in the Social Media Scheduler. For general resizing see how to resize an image.
Checking the result before you post
Open the downloaded file on your phone, not just on the computer, and look at it at the size Instagram will show it. Check that faces, product labels and any text are inside the safe area, and that nothing important sits within about 250 pixels of the top or bottom of a Story, where the interface covers the picture. If the crop cut something off, go back to the original and either choose the blurred-background fit or reposition the subject in your photo editor before resizing again.
Finally, keep a naming habit such as beach-day-4x5.jpg and beach-day-9x16.jpg so you can tell the sizes apart when you schedule posts later.
Safe zones for stories and reels
Vertical formats are partly covered by the interface. Keep names, prices and faces away from the top and bottom roughly 250 pixels of a 1080 by 1920 canvas, where the profile bar, caption and reply field sit. Centre important content and leave generous margins at the sides, because different phones crop slightly differently.
- Place logos and handles inside the middle safe area.
- Avoid text in the bottom quarter, where captions and buttons appear.
- Check the preview on a phone before posting.
- Use a solid or blurred background instead of stretching a small photo.
For exact guidance, the 1080 by 1080 square guide, the story size and safe zones and the 4:5 portrait crop go deeper, and a cheat sheet for every network covers other platforms.
Grid planning for a consistent profile
Profile grids now show tall thumbnails, so the centre of each post matters most. Plan sets of three, keep a consistent tone across edits, and use the same border or background style for a recognisable look. Test a few drafts side by side before publishing to see how they read as a group.
Step-by-step
Common mistakes to avoid
Pro tips
Frequently asked questions
What size should an Instagram photo be?
Use a width of 1080 pixels: 1080 × 1080 for square, 1080 × 1350 for 4:5 portrait and 1080 × 1920 for Stories and Reels.
Should I crop or use a blurred background?
Crop when the subject is central; use a blurred background when cropping would cut something important.
Which format is best?
JPG for photos. Instagram recompresses uploads anyway.
Why does my picture look softer after posting?
Instagram recompresses uploads. A sharp original at the right size gives the best result.
Is the tool free and private?
Yes. It is free and runs in your browser.
Resizing for Instagram means choosing the shape, deciding between cropping and a blurred fill, and exporting a 1080-pixel-wide JPG from the original. Preview the crop, keep a copy of each size and let Instagram do its own compression on a clean file.
Related guides
Browse more: all image guides · Resize Image