Compress Images Without Losing Quality: What Works
To compress images without visible loss, save photos as JPG or WebP at about 70 to 80 percent quality after resizing them to the size they will actually be shown, and keep pictures full of text at 85 percent or higher. That combination routinely turns a 3 to 5 MB phone photo into a few hundred kilobytes that look the same on screen. This guide explains how compression decides what to throw away, which settings suit which kind of picture, how the free GrabCast Compress Image tool handles formats and batches, and the cases where compressing is the wrong fix. Only compress images you own or have permission to edit.
🗜️ Try the Compress Image tool now — freeOpen →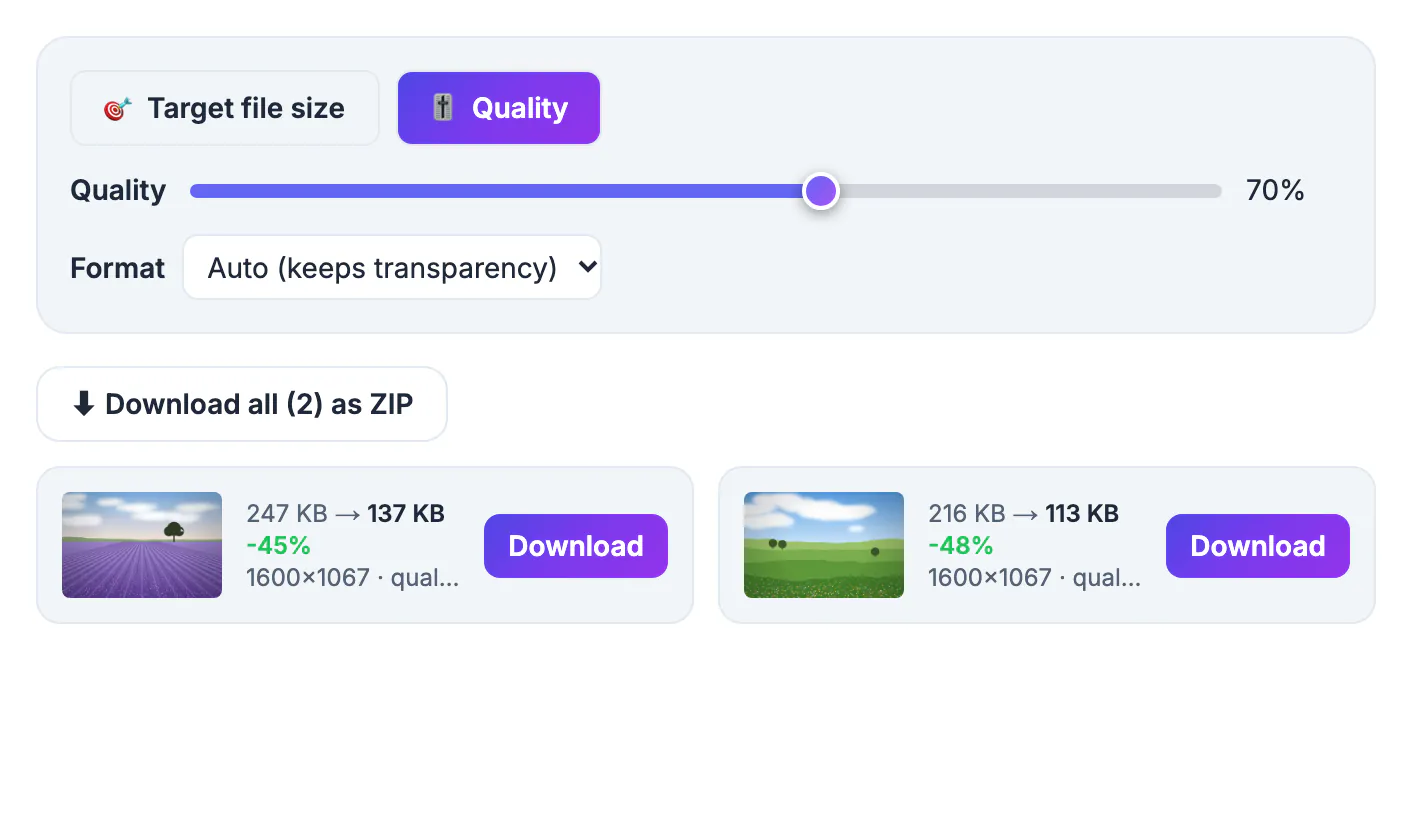
Images are usually the heaviest part of a web page, so trimming them is often a bigger speed win than any code change, and faster pages keep visitors on mobile data from giving up. Lighter files also slip under the caps on job portals, marketplaces and school systems, sync faster to cloud storage, and leave room on a phone that is always full. Most online compressors upload your photo to a remote server and send it back, which means a copy sits on someone else's machine at least briefly. Compressing locally in the browser skips the upload wait, the watermark and the daily limits, and keeps ID scans, contracts and family photos on your own device.
What happens when you compress images
A digital photo is a grid of pixels, and its file size depends on four things: how many pixels it has, how much fine detail sits in them, the format, and the compression setting. Compression works on the last two.
- Lossy formats such as JPG and WebP split the picture into small blocks and discard color and texture detail the eye barely registers; savings of 80 to 90 percent are common for photos
- Lossless formats such as PNG keep every pixel exactly and only pack repeated data more tightly, so they excel at flat graphics but stay heavy on photos
- Busy scenes like foliage, gravel or a crowd hold more detail and compress less than a clear sky or a studio backdrop
- Pixel count scales everything: halving the width and height leaves a quarter of the pixels, and usually roughly a quarter of the bytes
So compressing without losing quality really means losing the right data. The encoder removes information you cannot see at the size the image is viewed, which is why a photo that looks identical on a laptop can show faint blocks when you zoom to 400 percent. Judge the result at the size your audience will actually see it, not under a magnifying glass.
Quality settings that stay invisible, by kind of picture
There is no single perfect number, because different content breaks down in different ways. These starting points hold up for most people:
- Portraits, pets and travel shots: 70 to 80 percent looks clean on any screen
- Product photos with fabric, wood grain or jewelry: 80 to 88 percent, since buyers zoom in on texture
- Screenshots, charts, receipts and scanned forms: 85 to 92 percent, because smeared letters are the first thing people notice
- Sunsets, skies and soft gradients: watch for visible stripes called banding, and go higher if they appear
- Thumbnails and background images: 60 to 70 percent, where softness is invisible at small sizes
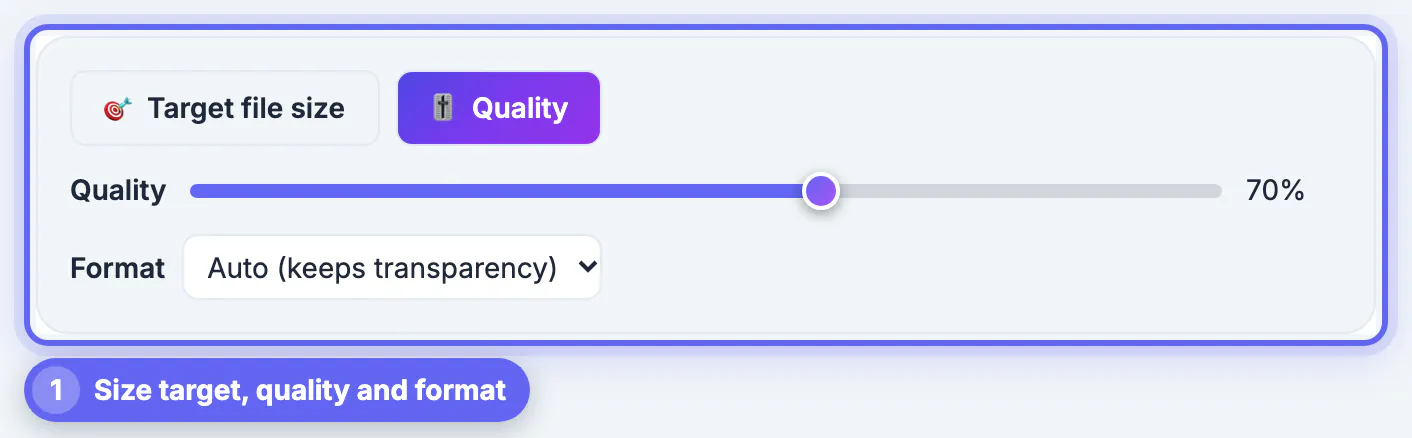
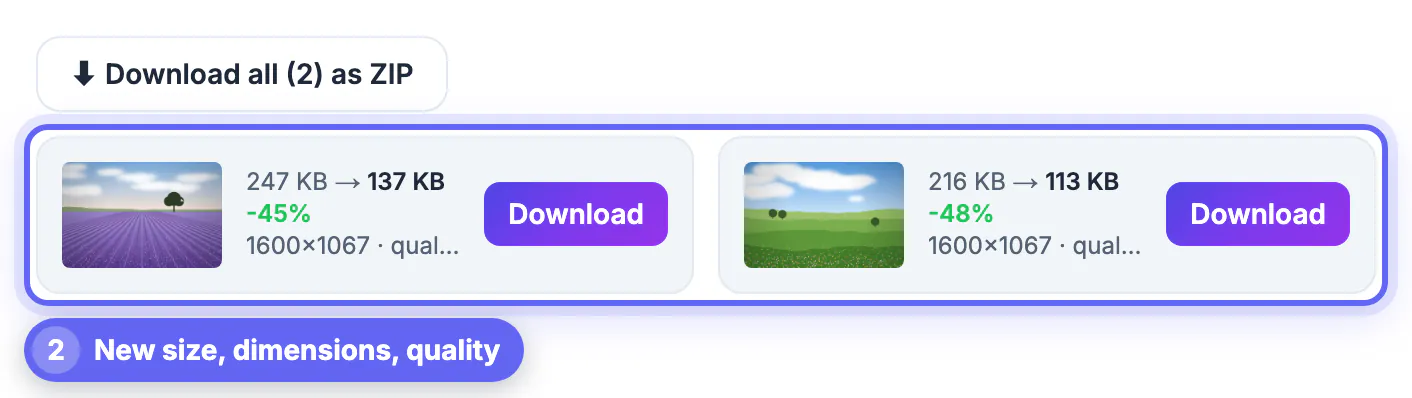
In the tool's Quality mode, start at the default of 75, compare, then step up or down by five. Each result card shows the percent saved, so you can see when an extra five points of quality costs 30 percent more bytes and decide whether that is worth it. For a website, a sensible goal is keeping most images under about 200 KB and large hero images under roughly 400 KB.
Choosing JPG, WebP, PNG or Auto when you compress images
The Format menu in Compress Image has four choices, and the right one depends on where the file is going.
- Auto saves any PNG, WebP or GIF with transparent pixels as WebP, which keeps the see-through areas, and everything else as JPG
- JPG opens everywhere, from government portals to old photo viewers, but it fills transparent areas with white
- WebP is usually the smallest at the same look and suits websites, though some upload forms and older apps still reject it
- PNG keeps transparency: lossless mode re-packs every pixel more tightly and keeps your original if it cannot be made smaller, while Lossy PNG cuts the palette to between 256 and 8 colors for a much smaller file
The tool opens JPG, PNG, WebP, GIF, BMP and AVIF files your browser can read, and saves each result with -min added to the file name so it never overwrites your original. Animated GIFs become a single still frame. If you need an exact number rather than a look, switch to Target file size and type a maximum in KB; the tool then hunts for the highest quality that fits. Lossless PNG cannot aim at a size, so for a PNG under a limit turn on Lossy PNG.
Photos for the web often shrink further as WebP; the Image to WebP tool converts them, and the Metadata Remover strips extra file data.
When compression is the wrong fix
Compression is powerful, but a few situations call for a different tool or no change at all.
- The image is far larger in pixels than its display slot: a 6000-pixel photo shown 800 pixels wide needs resizing first, and no quality setting will match what that alone saves
- The file was already heavily compressed, such as a picture saved from a messaging app: every extra lossy pass stacks new artifacts on the old ones
- The picture is headed to a print shop: printers need pixels and detail, so send the original and compress only the copy you share online
- It is a logo or icon made of flat shapes: an SVG or a well-made PNG is often cleaner and just as small
- It is already small, say an 80 KB thumbnail: the savings are tiny and not worth another generation of loss
A good habit is to compress once, from the best original you have, at the moment you know where the image is going. Keep the untouched file as a master so you can export again when a new use comes along.
▶ Watch: How to compress an image (0:39)
Video transcript
- Set a target size. Pick a preset or type the largest file size you want, here 100 KB.
- Pick a format. WebP is usually the smallest. Choose JPG if the site asks for it.
- Add your photo. Drop one photo or many. Each one is squeezed under the target size.
- Compare the sizes. The card shows the size before and after, so you know it will fit.
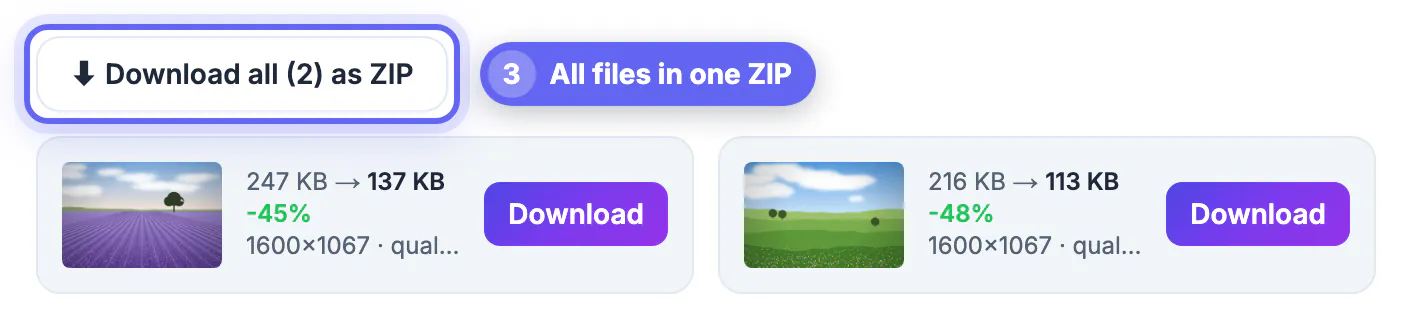
- Download it. Save the compressed copy and attach it to your email or upload form.
Step-by-step
Common mistakes to avoid
Pro tips
Frequently asked questions
Can you compress images without losing any quality?
Lossless compression keeps every pixel but saves little on photos. What people usually mean is no visible loss, and that is realistic: at 70 to 80 percent JPG or WebP quality, most photos look the same on screen while shrinking by 70 percent or more.
What is the best quality setting for compressing photos?
Start at 75 for photos and about 85 for anything with text. Step up if you see blocks or banding and down if the file is still too heavy, checking the percent saved on each result card as you go.
Is my image uploaded when I compress it?
No. Compress Image runs in your browser using its built-in image encoder, so the photo never leaves your device and nothing is stored on a server. Small open-source libraries load from a public CDN only when needed: UPNG.js for PNG output and a ZIP library when you download several files together.
How many images can I compress at once?
There is no fixed count. Drop as many as you like and download them together as a ZIP. Very large batches depend on your device's memory because all the work happens locally, so split huge folders into groups on an older phone.
Can the tool save my image as a compressed PNG?
Yes. Choose PNG as the Format: lossless mode keeps every pixel and the transparency and only packs the file tighter, keeping your original if it is already optimal, while Lossy PNG reduces it to a 256- to 8-color palette for a much smaller file that still keeps transparency.
Compress images by resizing to the display size first, then saving photos at 70 to 80 percent and text-heavy pictures at 85 or more. Choose JPG for universal compatibility, WebP for websites, PNG or Auto when transparency matters, compress once from a good original, and keep that original safe.
Related guides
Browse more: all image guides · the Compress Image tool