How to Speed Up Your Website With Image Optimization (Free)
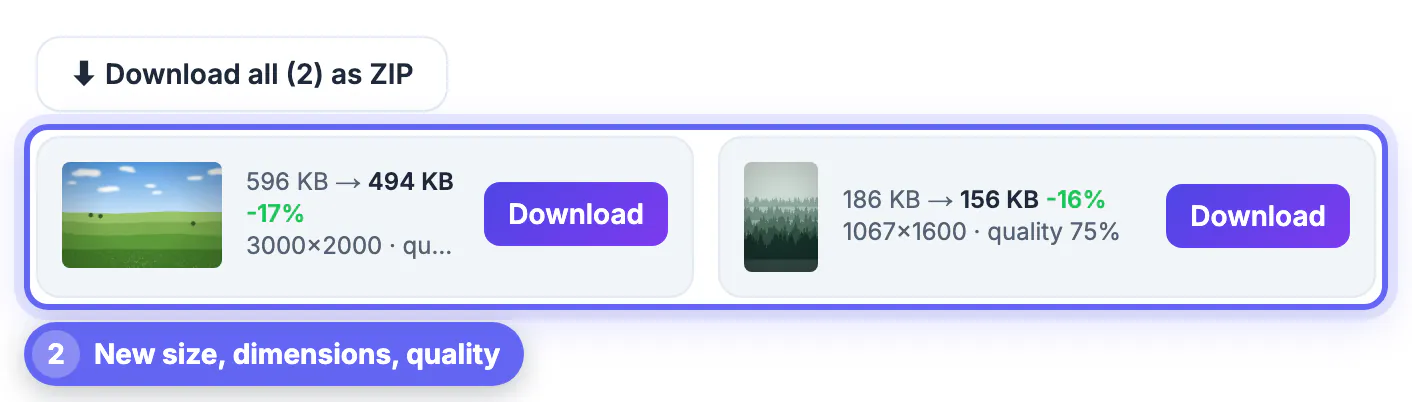
To speed up a website with image optimization, resize images to the width they are actually shown at, compress them at a quality around 75 to 85, use a modern format such as WebP for photos and load below-the-fold pictures lazily. Images are usually the heaviest part of a page, so this is where the biggest gains sit. GrabCast's free Compress Image applies quality compression in your browser and shows each file's before and after size: in the example, a 3000 × 2000 photo went from 596 KB to 494 KB (17 percent smaller) and a 1067 × 1600 photo from 186 KB to 156 KB at quality 75. This guide explains why those savings are only the start and what else to do.
⚡ Try Compress Image now — freeOpen →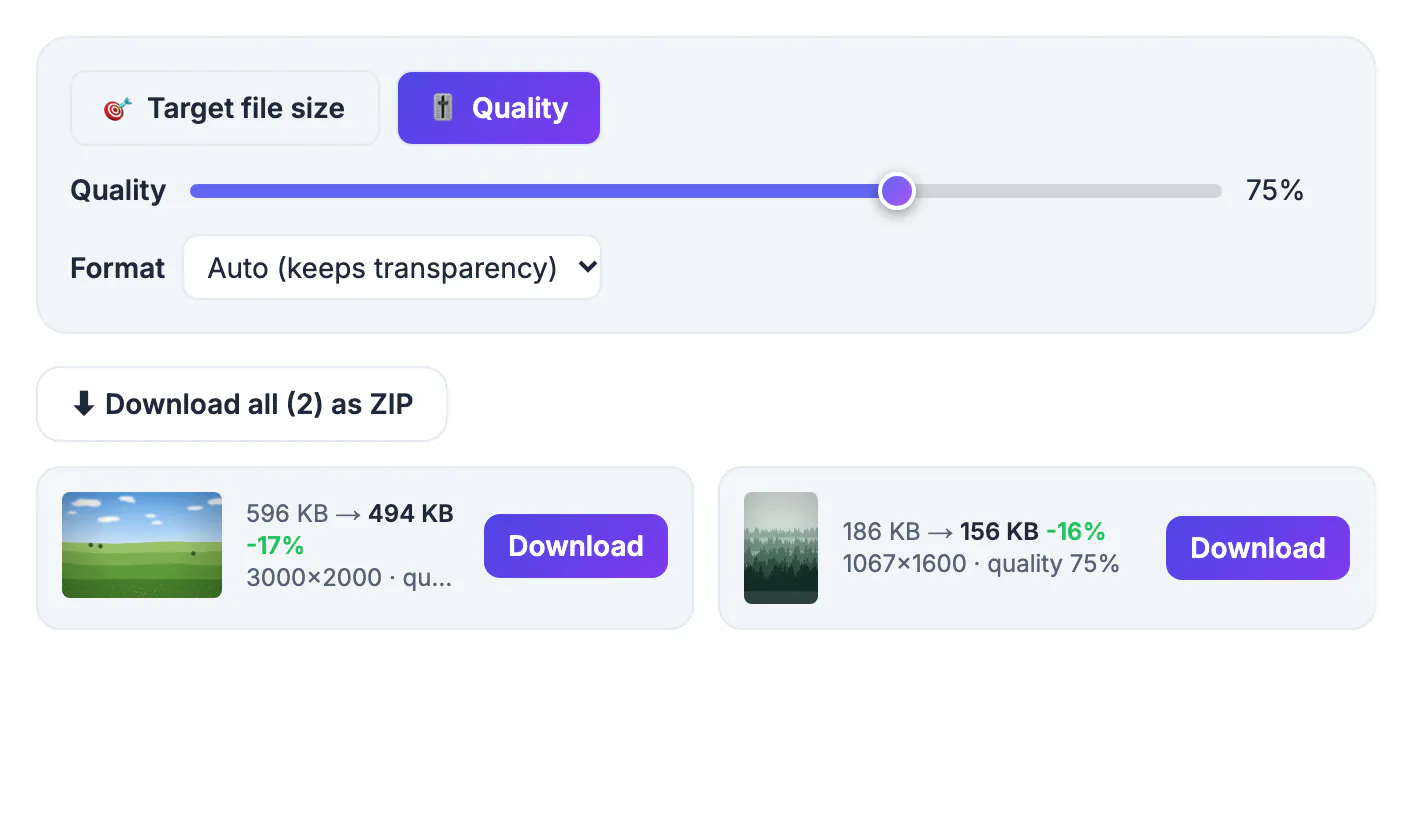
A page cannot finish drawing its largest visible element until that element has downloaded, and on a phone connection a few large images can add seconds. Google's Core Web Vitals include Largest Contentful Paint, which is often an image, so heavy hero pictures hurt both visitors and search performance. Optimizing images is also one of the few speed tasks that needs no coding: you only change files.
Compression alone is a small part
The example photos were already reasonably compressed JPGs, so quality 75 saved 16 to 17 percent. That is useful, but the far larger saving is the number of pixels: a 3000-pixel-wide photo displayed in a 900-pixel column contains about eleven times the pixels needed. Resize first (see how to resize an image), then compress. For a typical blog, target a width of one to two times the displayed width, so that high-density screens still look sharp.
Pick the right quality setting
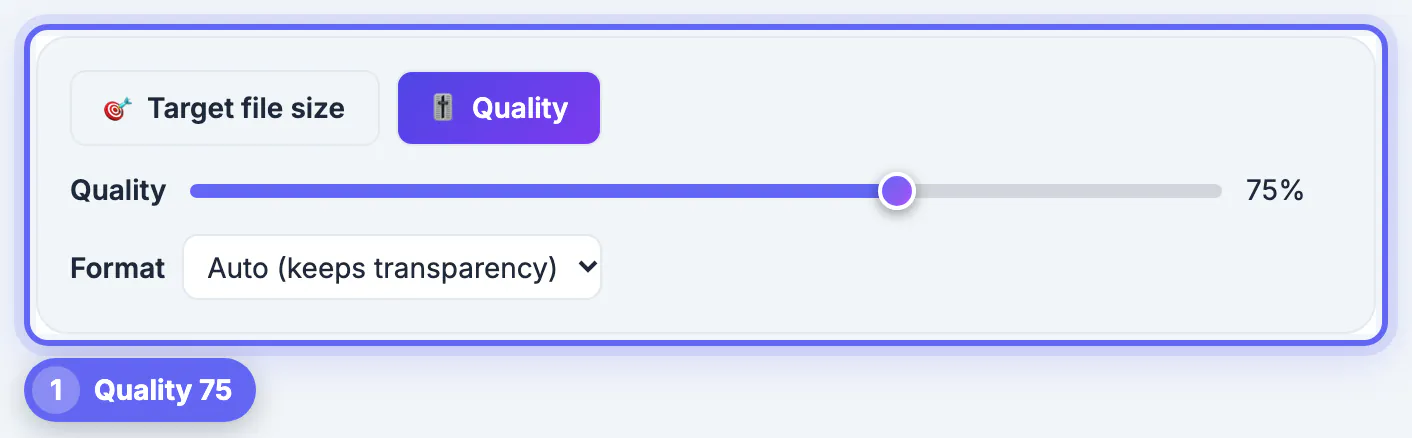
In the tool choose Quality and set the slider; 75 is a common starting point for photos, and 80 to 85 keeps fine detail such as skin and text. Compare the result at full size before you publish. The alternative mode, Target file size, lets you ask for a specific limit such as 100 KB per image, which suits upload forms. Keep the original files: compress copies, not the master.
Use modern formats and lazy loading
WebP usually makes photos noticeably smaller than JPG at similar quality; in our own test two JPG landscapes shrank by 62 and 67 percent when converted to WebP at quality 82 (see WebP vs JPG). Most modern browsers support it. In your page, give each image width and height attributes so the layout does not jump, add loading="lazy" to pictures below the first screen and never lazy-load the main hero image. Use srcset to offer several widths if your platform allows it.
A simple routine
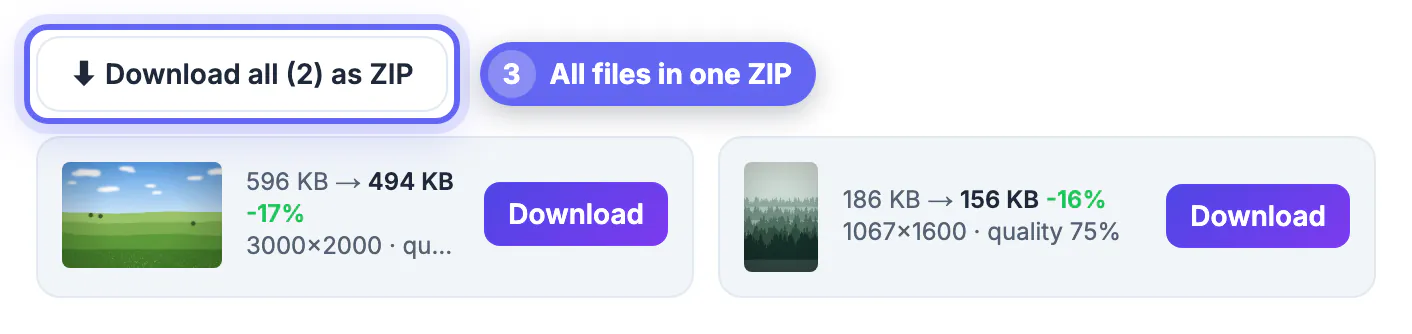
For each new image: crop, resize to the display width, compress at 75 to 85, convert to WebP if the site supports it, name it descriptively and add alt text. Then download all files in one ZIP from the tool and upload them. Test the page with a speed tool after publishing to see the real effect, and repeat for the heaviest pages first. More background in how to compress images and how to make an image smaller in KB.
What to check after you publish
Run the page through a speed test on a simulated mobile connection and look at three things: the size of the largest image, whether any image is displayed much smaller than its file, and whether the layout jumps while images load. Fix the biggest problem first, since one oversized hero picture often outweighs ten small ones. Repeat the check whenever you change the theme or add a new banner.
Also review your content management system's settings: many platforms create resized copies automatically, but only if you upload a sensible original. Uploading a 6000-pixel camera file and letting the system scale it is better than nothing, but preparing a 2000-pixel file first gives you control over quality and saves storage.
Measuring the gains in real numbers
Record the page weight and loading time before you change anything, then repeat after each step. A typical blog page with six photographs can drop from 4.5 MB to under 1.5 MB with resizing, a sensible quality setting and a modern format. On a mid-range phone with a slow connection, that is the difference between waiting several seconds and seeing the page almost instantly.
- Check Largest Contentful Paint, which is often the main photo.
- Look at total bytes and the number of requests.
- Watch for layout shift when pictures load without dimensions.
- Compare mobile and desktop results separately.
Step-by-step help is in compressing a photo for a website, converting images to WebP in bulk and comparing WebP and JPG.
Pitfalls to avoid
Do not compress the same file repeatedly, lazy-load the first visible picture or forget alt text. Also avoid uploading camera originals directly to a content system, because themes often generate several sizes from a huge file and still ship more bytes than needed. Keep masters offline and publish prepared versions.
Responsive sizes and lazy loading in practice
Give each picture explicit width and height attributes so the layout does not jump, offer two or three widths through a srcset list and add lazy loading to everything below the first screen. Leave the first large picture eager, because deferring it delays the main content and hurts the loading score.
Step-by-step
Common mistakes to avoid
Pro tips
Frequently asked questions
How do I optimize images for my website?
Resize them to the display width, compress at quality 75 to 85, use WebP for photos and lazy-load images below the fold.
How much smaller will my images get?
It depends on the file. Our two example photos shrank 16 to 17 percent from compression alone; resizing and WebP give much larger savings.
What quality should I use?
About 75 to 85 for photographs. Compare at full size before you publish.
Should I use WebP?
Yes for photos where your platform supports it; it usually beats JPG at the same visual quality.
Are my photos uploaded to compress them?
No. They are compressed in your browser.
Image optimization means fewer pixels, sensible quality and a modern format. Compress at quality 75 to 85, resize to the size you display, convert to WebP and measure the page again to confirm the gain.
Related guides
Browse more: all image guides · Compress Image