The Best Free Image Tools: Convert, Compress, Resize, Crop
The best free image tools cover six everyday jobs: convert the format, compress the file, resize to exact dimensions, crop to a ratio, remove a background and fix orientation. GrabCast has 36 image tools, free, with no sign-up and no watermark, and the common ones run in your browser so photos stay on your device. This guide says which tool fits which job, shows real before-and-after numbers from sample photos, and gives the order to run them in, because resizing before compressing and converting last gives a smaller file than the reverse.
🧰 Try Image Tools now — freeOpen →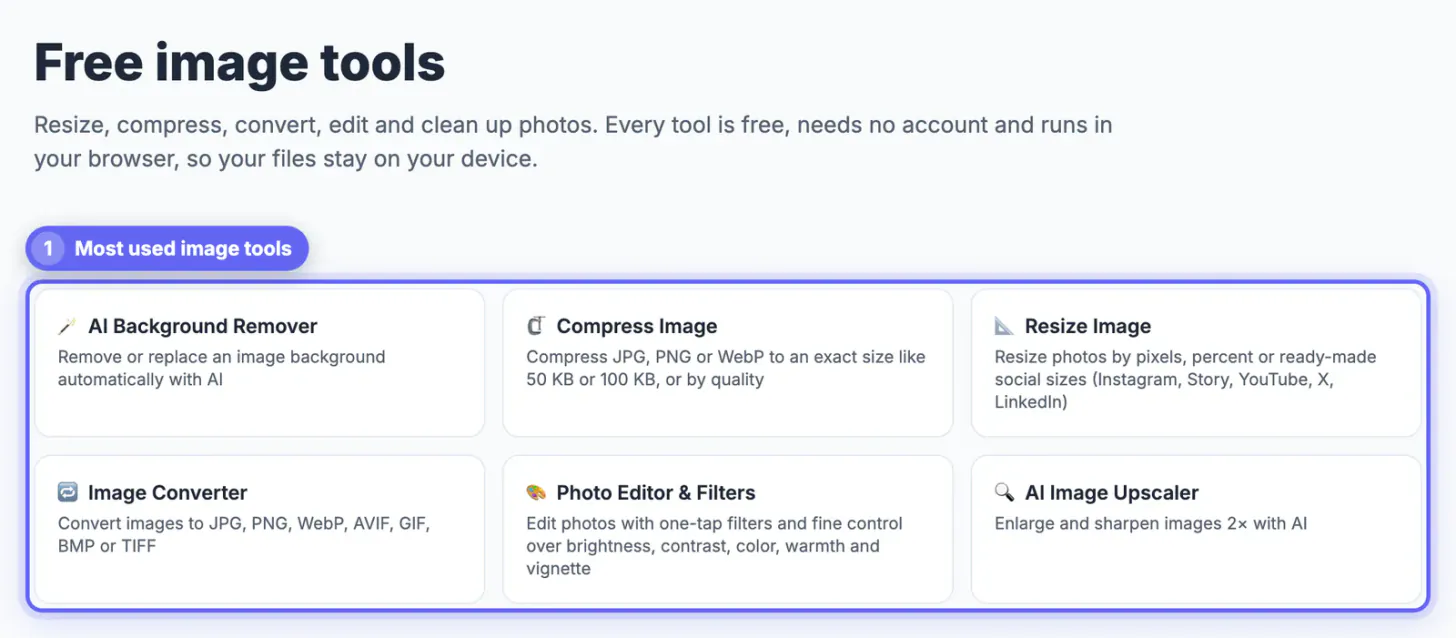
Most image tasks are small and repetitive: a photo is too big for an email, a logo needs a transparent background, a banner must be exactly 1500 by 500. Each of these is one setting in the right tool, and you finish in seconds instead of opening a heavy editor. Picking by task also stops you from using the wrong format, for example a PNG for a photograph.
Which image tool for which job
- Change format: Image Converter, Image to WebP, JPG to PNG, PNG to JPG and HEIC to JPG for iPhone photos.
- Make it smaller: Compress Image lowers the file size by quality or to a target; Batch WebP Converter handles a whole folder.
- Exact dimensions: Resize Image has presets for Instagram, Stories, Facebook and X, with Fit, Crop to fill or a blurred background.
- Reframe: Crop Image offers ratio presets such as 1:1, 4:5 and 9:16 and typed pixel sizes.
- Fix orientation: Rotate and Flip Image turns by 90 degrees, flips and straightens a crooked horizon by a few degrees.
- Cut out or hide: Background Remover makes a transparent PNG; Blur Image and Metadata Remover hide a detail or strip location data.
- Polish and brand: Photo Editor for filters, Add Watermark to Image for a name or logo, and the meme generator for text on a picture.
All 36 are listed on the image tools page, and the image guides hub has a how-to for most of them.
Real results from sample photos
These numbers come from running the tools on the sample photos, not from a marketing claim.
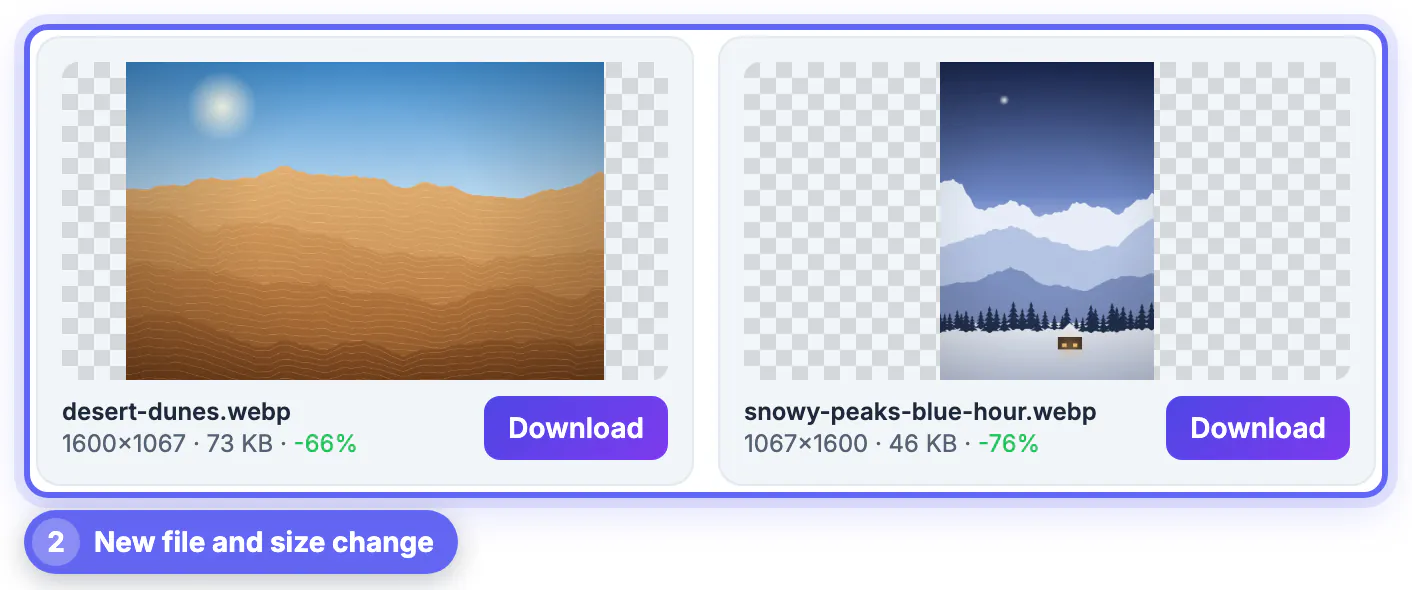
- Convert: two JPG photos converted to WebP at quality 80 became 73 KB and 46 KB, 66 and 76 percent smaller.
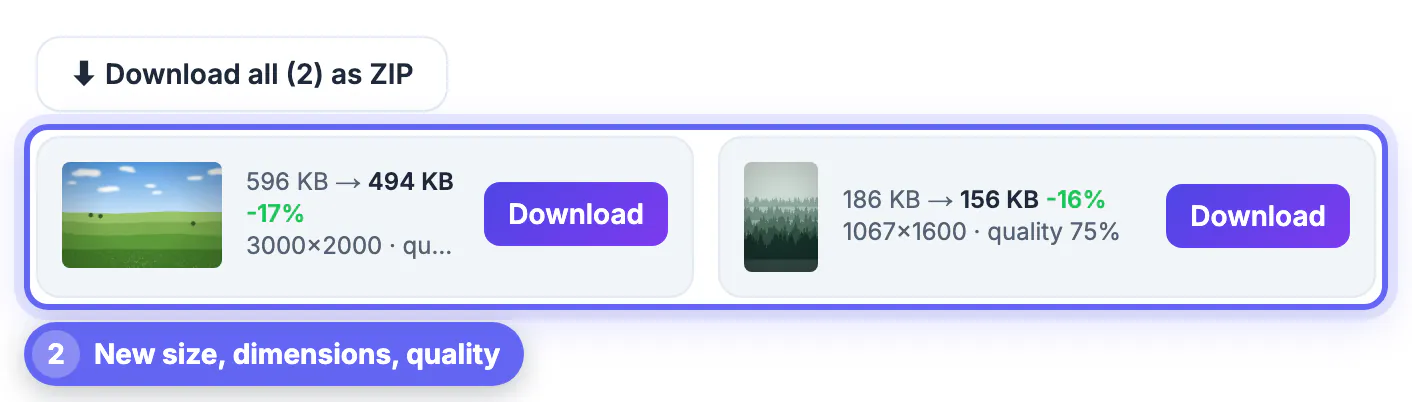
- Compress: at quality 75 a 3000 by 2000 photo went from 596 KB to 494 KB, and a 1067 by 1600 photo from 186 KB to 156 KB. Photos that were already well compressed shrink by only a modest amount.
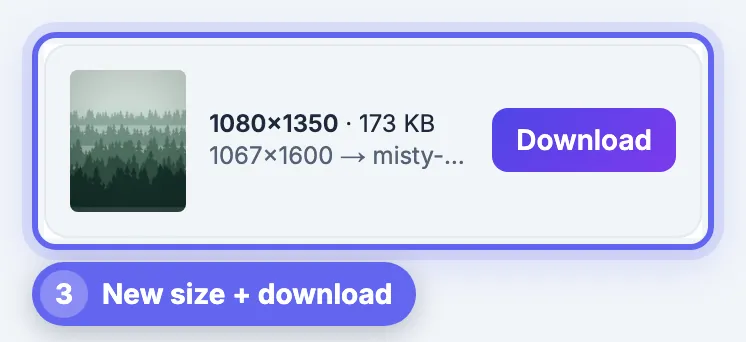
- Resize: a tall forest photo became an Instagram portrait of 1080 by 1350 pixels and 173 KB.
- Crop: a wide product photo of 2400 by 1600 became a 1000 by 1000 square with the 1:1 preset.
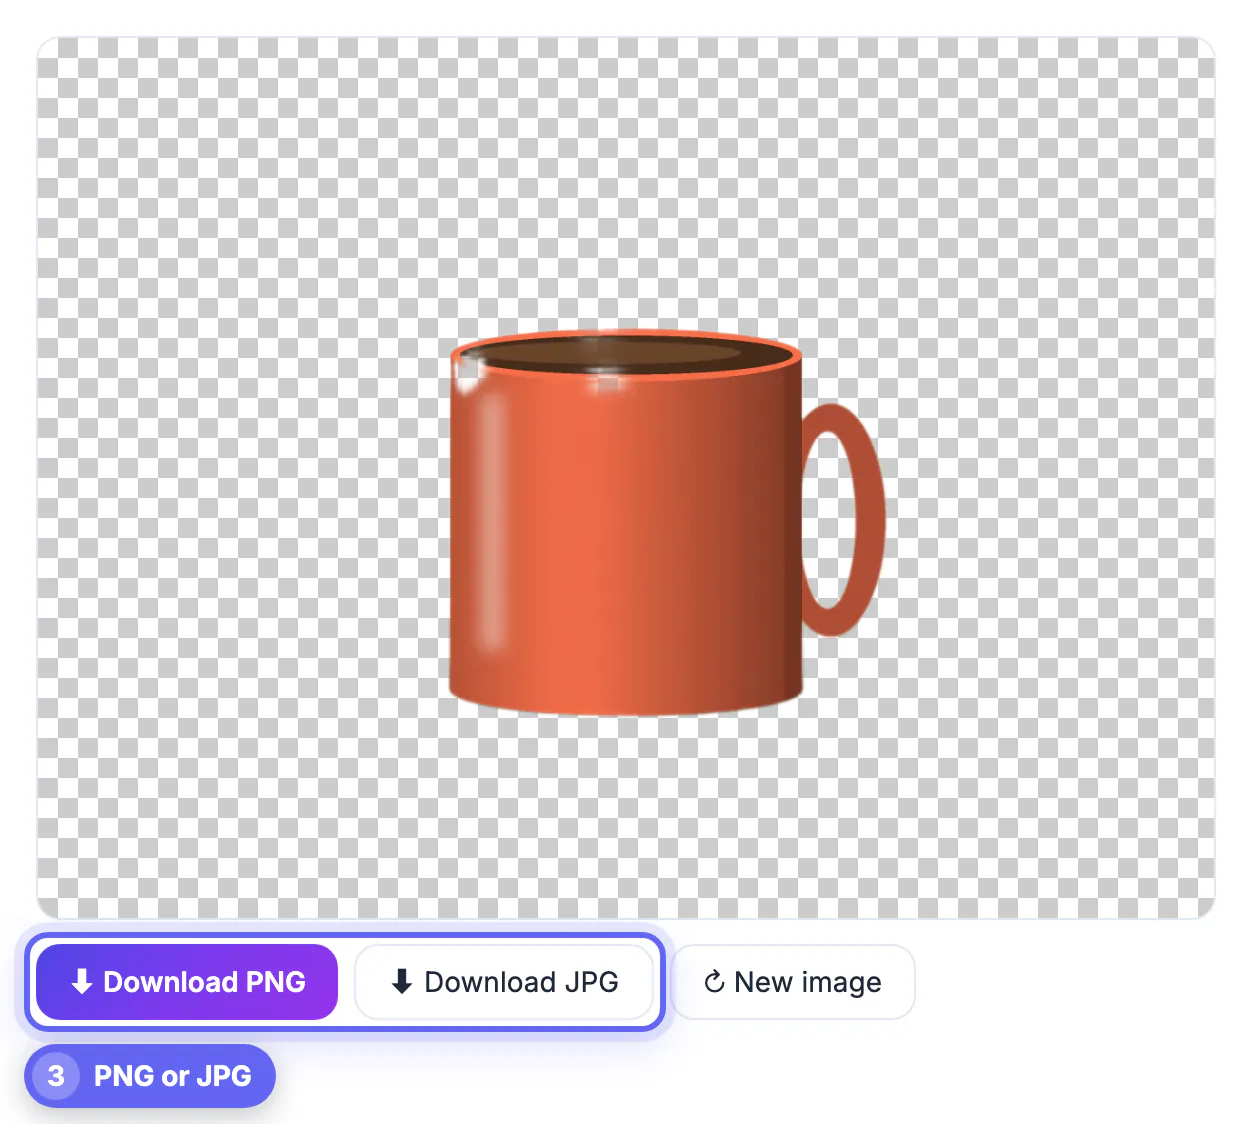
- Cut out: a mug on a table became a transparent PNG on a checkerboard background.
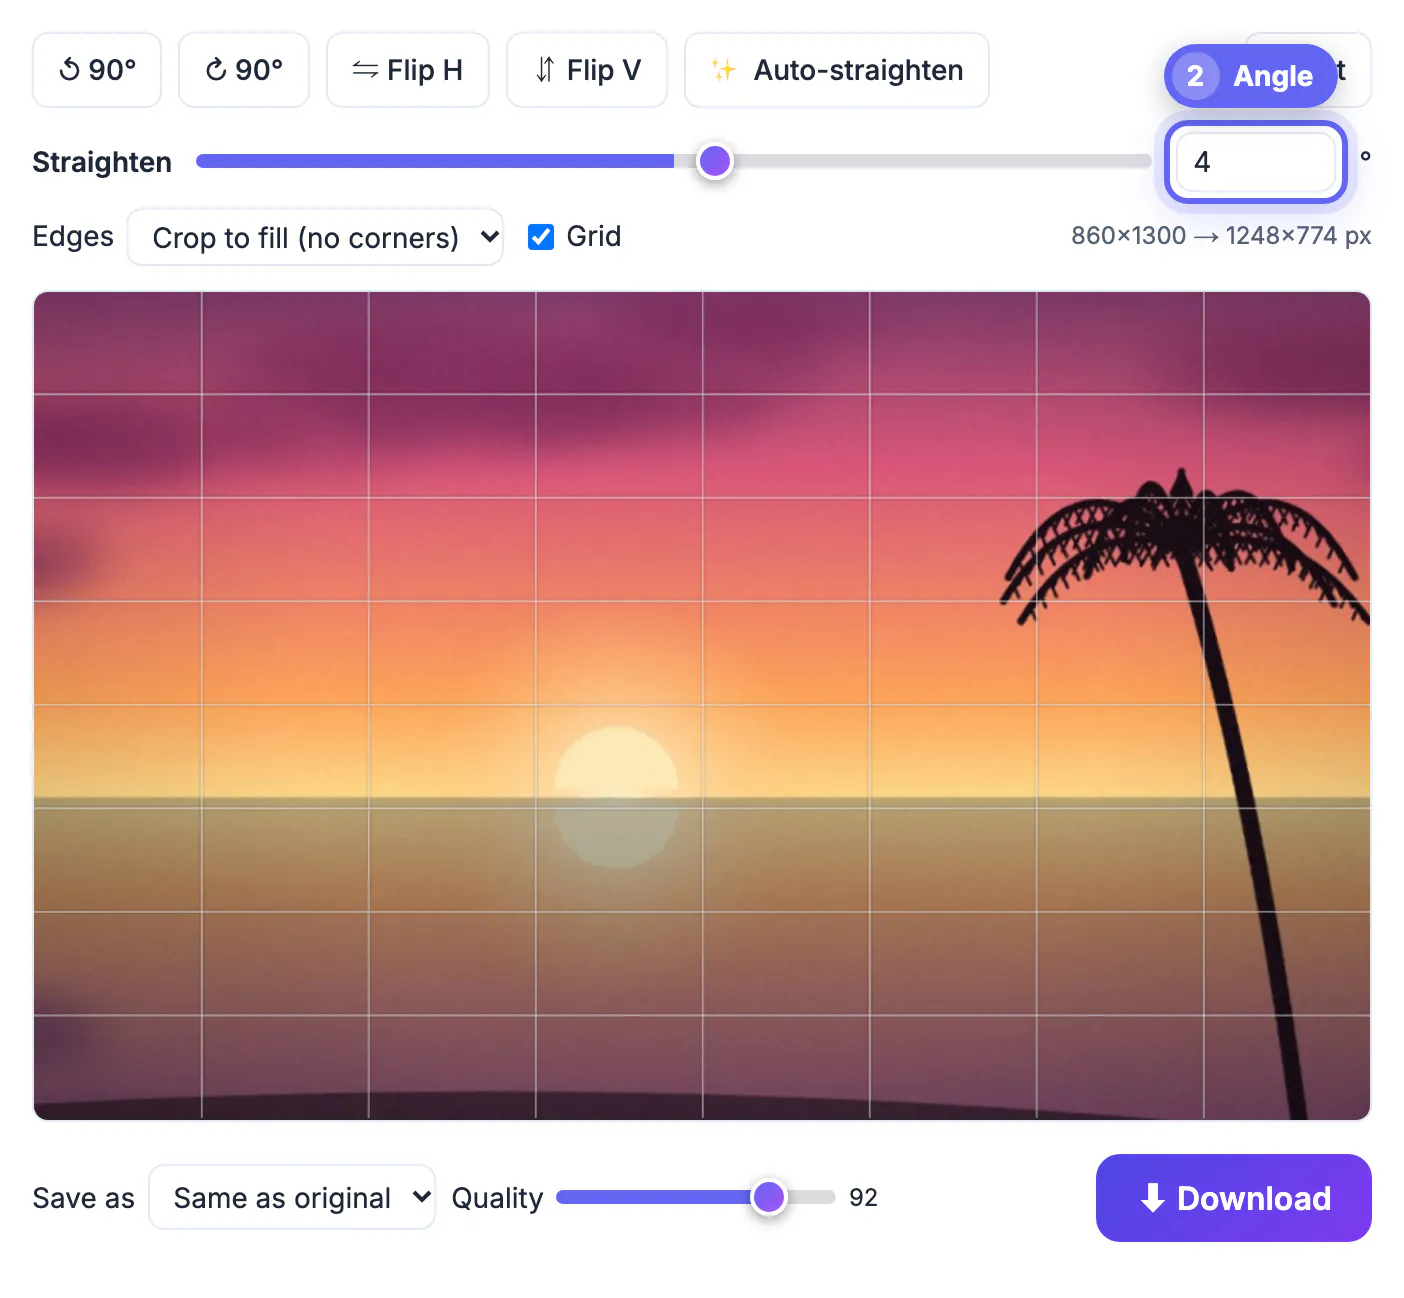
- Rotate: a photo that was saved sideways was turned 90 degrees and then straightened by 4 degrees.
Savings depend on the image. A flat graphic or a screenshot can even grow when it is converted to a different format, so always compare the size shown in the result with the original.
The order that gives the best result
Run the steps in this order: rotate or crop first, resize second, remove the background if you need transparency, then compress, then convert the format last. Resizing before compressing matters most, because compressing a 4000-pixel photo that you then shrink to 1080 pixels wastes quality twice. For a logo that needs a transparent background keep it as PNG or WebP, because JPG cannot store transparency. For photographs choose JPG or WebP. The guides PNG vs WebP and JPG vs PNG explain the choice.
Privacy and limits
The convert, compress, resize, crop, rotate and watermark tools run in your browser, so the photos are not uploaded. The Background Remover downloads an AI model to your browser the first time you use it; the model is code, not your photo. Results are only as good as the original: no tool can add detail to a blurry picture, and a cutout of hair or glass may need a second look at the edges.
Matching the tool to your goal
Think about where the picture will end up before opening anything. A web banner needs small bytes and exact pixel width, a print order needs high resolution and the right ratio, and a social post needs a safe crop. Choose the destination first, note its requirements, and then work backwards through the steps.
- Website: resize to display width, compress, then convert.
- Social: crop to the platform ratio and check the preview.
- Marketplace listing: use a plain background and consistent size.
- Email: keep it under the provider's attachment limit.
Guides that go deeper include the social media image size cheat sheet, compressing a photo so pages load faster and removing a background in under a minute.
Step-by-step

Common mistakes to avoid
Pro tips
Frequently asked questions
Which free image tool should I use first?
Resize or crop first, then compress, then convert the format. That order keeps quality and gives the smallest file.
Are my photos uploaded?
The convert, compress, resize, crop, rotate and watermark tools process photos in your browser. The Background Remover downloads a model to your browser, not your photo to a server.
Is there a watermark on the results?
No. The free image tools add no watermark and need no account.
What is the best format for a website photo?
WebP is usually the smallest at similar quality, JPG is the most compatible and PNG is for graphics that need transparency or sharp edges.
Can free tools replace Photoshop?
For converting, compressing, resizing, cropping, cutting out a subject and basic fixes, yes. For layered compositing and detailed retouching you still need a full editor.
Match the tool to the task, run them in the order rotate or crop, resize, cut out, compress, convert, and trust the size shown in the result over any promise. Everything in this list is free, needs no account and works on your own device.
Related guides
Browse more: all image guides · Image Tools