How to Convert PNG to JPG: Quality, Background, Batch
To convert PNG to JPG, drop the PNG into GrabCast PNG to JPG, leave Convert to on JPG, keep the quality near the default of 88 percent, and click Download. Photos saved as PNG usually shrink a lot, and the file then opens in every app, form and print lab. The one decision that needs thought is transparency, since JPG cannot store it and fills see-through areas with a color you pick. This guide covers the settings step by step, what happens to transparent pixels, batch conversion, and the built-in ways to do the same job on Windows, Mac and phones.
🏞️ Try the PNG to JPG tool now — freeOpen →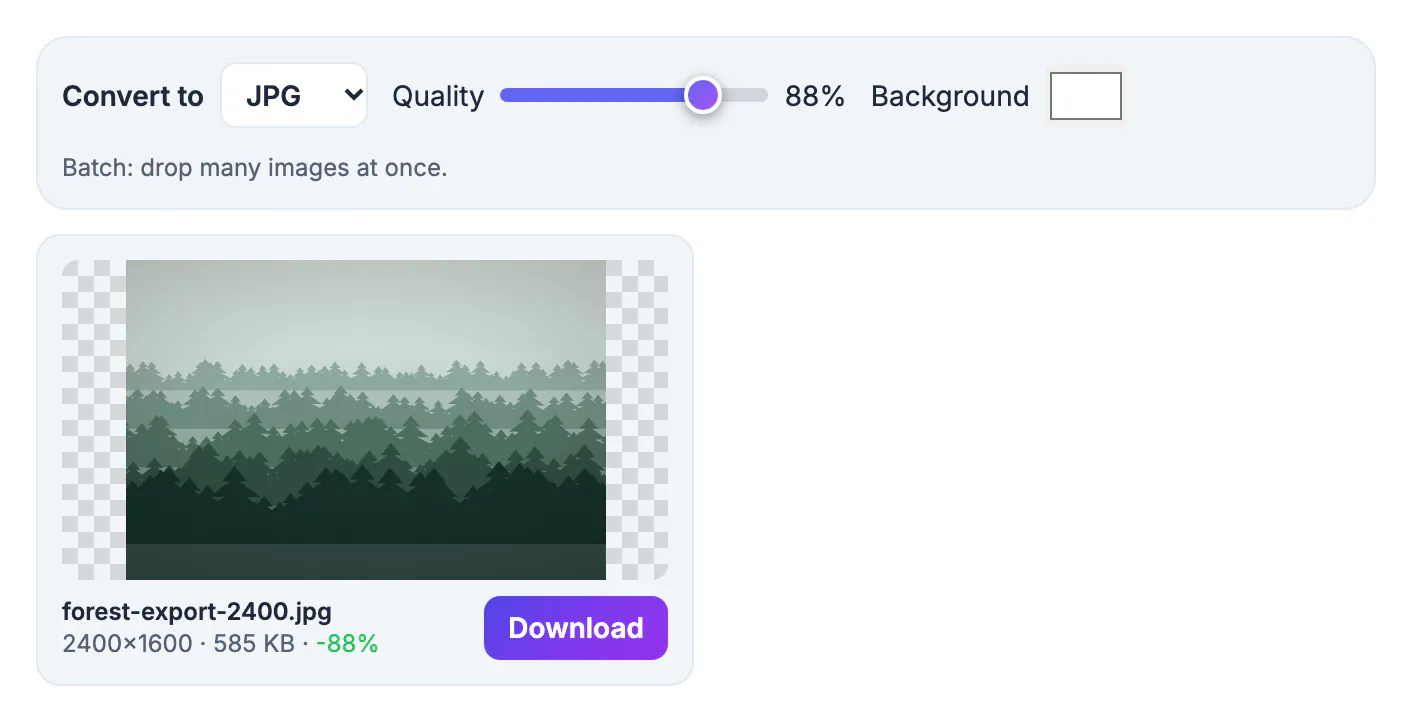
PNG is lossless, which is ideal for logos and screenshots but heavy for photographs, where a single picture can weigh several megabytes. Many destinations also ask for JPG by name: passport and visa portals, job applications, real estate listings, print kiosks and older desktop software. A JPG uploads faster, fits under attachment caps and loads quicker on a web page. The trade-off is that JPG applies lossy compression and has no transparency, so the conversion suits photos and full-color artwork far better than logos, diagrams or cutouts that must stay see-through.
How to convert PNG to JPG in your browser
The PNG to JPG page is a preset of GrabCast's image converter, and everything happens on your own device through the browser's canvas, so your pictures are never uploaded.
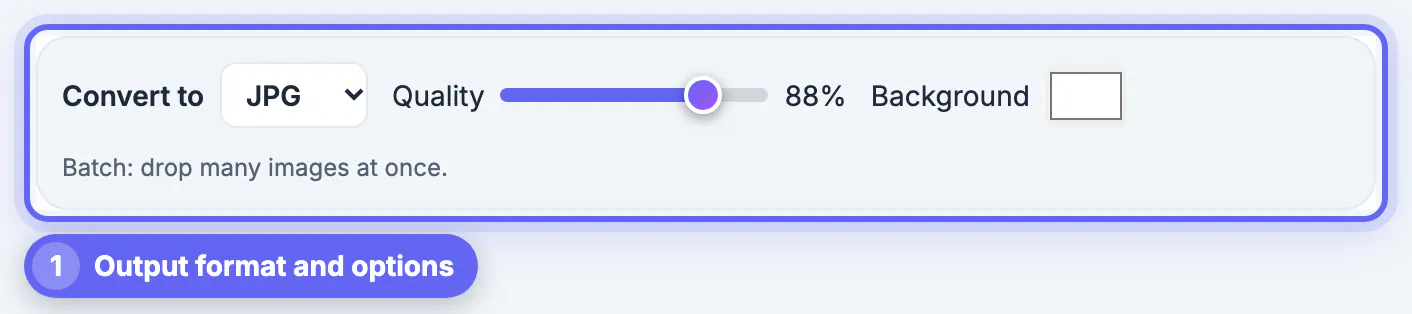
- Check that Convert to shows JPG; the same menu also offers PNG, WebP and, in browsers that can encode it, AVIF
- Adjust the Quality slider, which runs from 40 to 100 percent and starts at 88
- Set the Background color that will fill any transparent areas; white is the default
- Drop one or many PNG files; WebP, GIF, BMP, AVIF, ICO, SVG, TIFF and iPhone HEIC files are accepted too
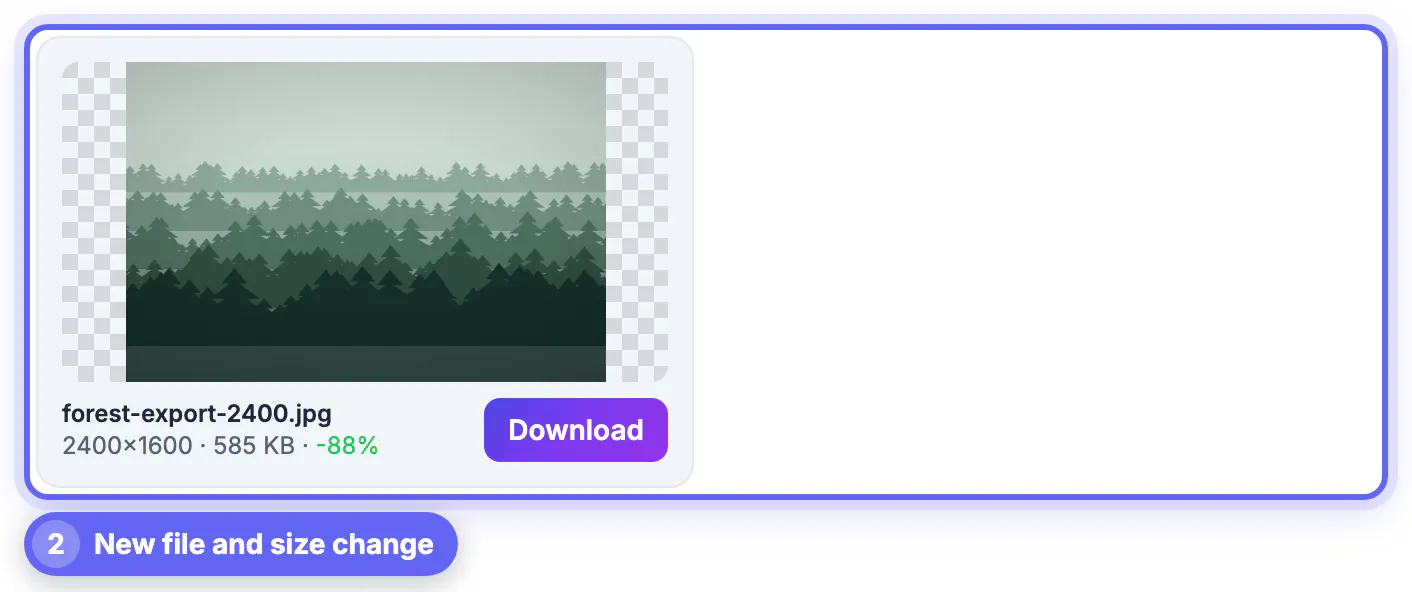
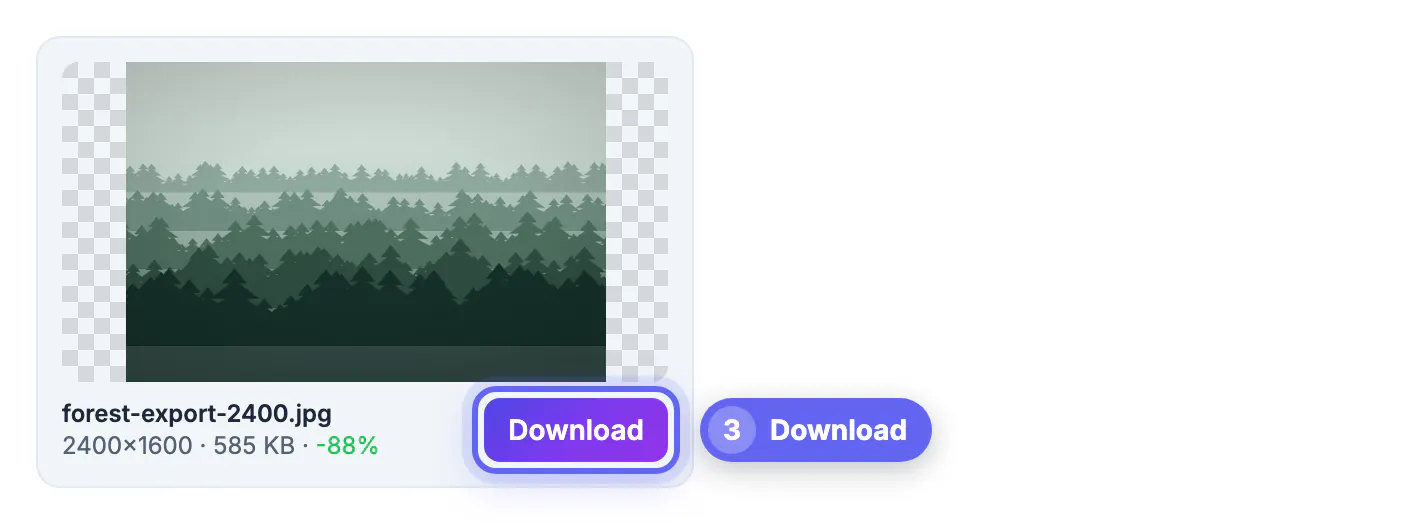
Each converted file appears as a card with a preview, its pixel dimensions, the new size and the percentage change versus the original. Changing the quality or the background re-converts every card after a short pause, so you can compare settings live. Click Download on any card, or Download all as ZIP when you have more than one. The output keeps the original width and height, and each file keeps its name with a .jpg extension.
Choosing the JPG quality setting
Quality controls how much detail the JPG encoder is allowed to discard. Higher numbers keep more detail and produce bigger files.
- 88, the default: looks nearly identical to the PNG for photos while cutting the size substantially
- 90 to 100: for screenshots with small text, product photos that buyers zoom into, or anything headed to print
- 75 to 85: fine for web images and social posts when you want a lighter file
- Below 70: only for thumbnails, where blockiness is too small to notice
The size change shown on each card is the quickest guide. If moving from 88 to 95 barely changes the size, keep 95. If it doubles the size, 88 is the better deal. Converting to JPG is lossy even at 100 percent, so keep the PNG if you will edit the picture again later.
If the converted JPG is still larger than you want, run it through the Compress Image tool for a smaller file.
What happens to transparent areas of a PNG
JPG has no alpha channel, so every transparent or semi-transparent pixel has to become a solid color. The converter paints your chosen Background color behind the image before encoding it, and the preview updates so you can see the result.
- White suits documents, product shots for most marketplaces and anything printed on white paper
- Black or a dark gray suits a logo that will sit on a dark website header or slide
- A brand color from the color picker makes a cutout match a specific banner or card
- Soft edges such as hair or shadows blend into the chosen color, so pick the color of the final destination
If the image must stay see-through, for example a logo that sits on different backgrounds, do not convert it to JPG at all. Keep the PNG, or use WebP, which keeps transparency and is usually much smaller.
Other ways to convert PNG to JPG on Windows, Mac and phones
For a single file, the software already on your device can do the job.
- Windows: open the PNG in Paint, choose File, Save as, JPEG picture; the Photos app also has a Save as option
- Mac: open it in Preview, choose File, Export, set Format to JPEG and drag the Quality slider
- iPhone and Android: most gallery apps have no direct format switch, but a browser tool works on the phone itself
- Command line users: tools such as ImageMagick convert whole folders if you already use them
Built-in apps rarely show the new file size before saving and usually give no control over what happens to transparent areas, which is where the browser converter helps. It also handles a whole folder in one pass and accepts HEIC photos straight from an iPhone, converting them to JPG with the same quality setting.
▶ Watch: How to convert an image (0:37)
Video transcript
- Choose the new format. Pick what you need: JPG, PNG, WebP, GIF, BMP or TIFF. Here: WebP.
- Set the quality. Around 80% keeps the picture sharp and the file small.
- Add your image. Drop a PNG, JPG, HEIC or other image. It is converted on your device.
- Check the new file. The card shows the new file name and how the size changed.
- Download it. Save the converted image. Add more files to convert a whole batch.
Step-by-step
Common mistakes to avoid
Pro tips
Frequently asked questions
Will converting PNG to JPG lower the quality?
JPG is lossy, so some detail is discarded, but at the default of 88 percent most people cannot see a difference in photos. Raise the slider toward 95 for text-heavy images or anything headed to print.
What happens to a transparent PNG background?
JPG cannot store transparency, so transparent areas are filled with the Background color you choose, white by default. Pick black or any brand color with the color picker, and the preview updates before you download.
Are my PNG files uploaded during conversion?
No. Your browser converts them on your own device. A HEIC or TIFF decoder loads only if you add those files, and a ZIP library loads only when you download all files; the images themselves never leave your computer or phone.
Can I convert many PNGs to JPG at once?
Yes. Drop many images at once and download them individually or together as a ZIP. There is no fixed file limit, since conversion happens locally and depends only on your device's memory.
Why is my JPG not much smaller than the PNG?
Flat graphics with few colors are already compact as PNG, so converting them saves little and can even add size. The big savings come from photos and photo-like screenshots saved as PNG.
To convert PNG to JPG, keep quality near 88 percent, choose the background color that transparent areas should become, and download one file or a ZIP. Convert photos freely, keep logos and cutouts as PNG or WebP, and hold on to the original in case you need transparency again.
Related guides
Browse more: all image guides · the PNG to JPG tool