How to Convert an Image to JPG (Free, Any Format)
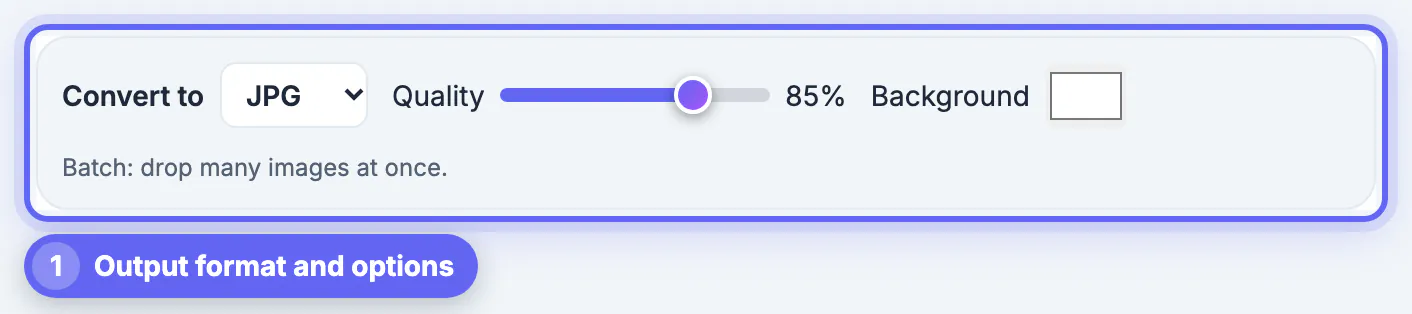
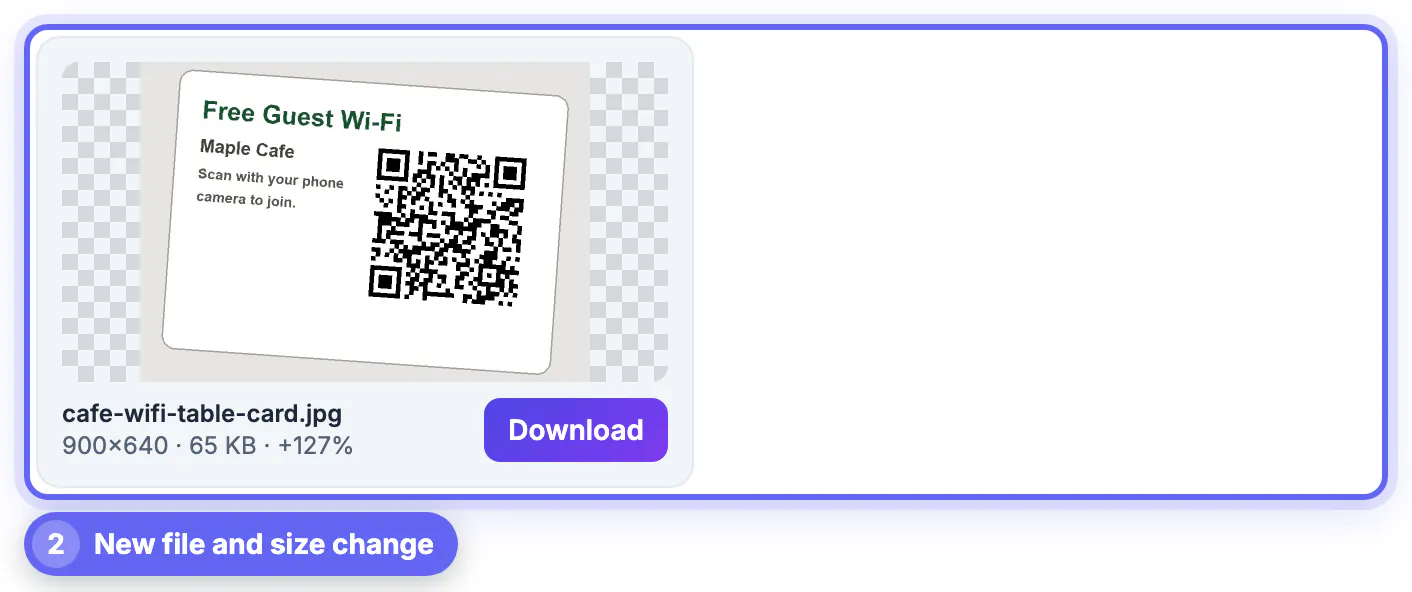
To convert an image to JPG, open a converter, choose JPG as the output format, set the quality and add your file. GrabCast's PNG to JPG tool does this in your browser for PNG, WebP, GIF, BMP and TIFF files, one at a time or in batches, and shows the new size next to each result. This guide also covers the two things people do not expect: JPG cannot be transparent, so a background color is used instead, and a flat graphic saved as JPG can end up larger than the PNG it came from. In the example, a café Wi-Fi card grew from a small PNG to a 65 KB JPG (127 percent larger), which is why the size line matters.
🏞️ Try PNG to JPG Converter now — freeOpen →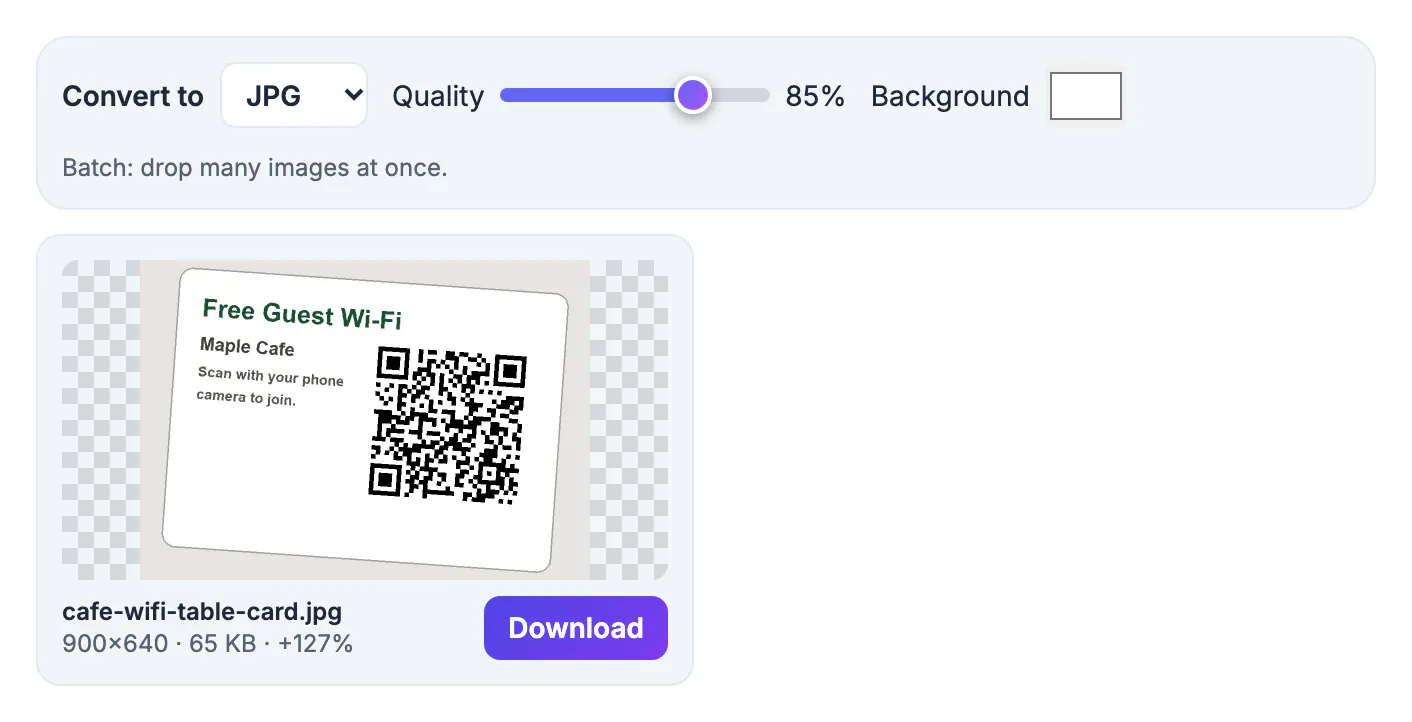
JPG is the format almost every website, app, printer and email client accepts, and for photographs it makes small files. That is why forms and marketplaces often ask for it. It is a poor choice for logos, screenshots and diagrams with flat color and sharp text, where PNG or WebP is smaller and cleaner, and it cannot hold transparency. Choosing the right format for the image, and checking the result, avoids both blurry text and surprise file sizes.
Quality: the setting that decides the file size
JPG is a lossy format: each save discards some detail to save space. The quality slider (88 by default, 85 in the example) trades size against artifacts. For photos 80 to 90 is a good range; below 70 you start to see blocks around edges. For text and line art, use a higher setting or a different format, because JPG creates ringing around sharp edges.
Do not convert the same JPG to JPG repeatedly: each round loses more detail. Keep the original file and export a JPG copy from it.
Transparency becomes a background color
JPG has no transparent pixels, so the converter fills them with the Background color. The default is white, which suits documents and most web pages; choose the color of the page or the slide where the image will sit. In the screenshot, the café Wi-Fi card is a tilted white card on a transparent PNG background, and its corners become white in the JPG. If you need transparency to stay, keep PNG or WebP instead.
Why the JPG can be bigger than the PNG
PNG compresses flat areas of color very efficiently, so a simple graphic can be a small PNG. Converting it to JPG adds photographic compression that is less suited to such content. In the example the result was 65 KB, shown as +127 percent next to the file. For photographs the opposite is usually true: a large PNG photo becomes a much smaller JPG. If the size goes up, try a lower quality, or keep the original PNG. To go smaller without changing the format, see how to compress images.
Converting many files and staying private
Drop several images at once and each is converted in turn; a Download all as ZIP button collects them. All processing happens in your browser, so photos of documents, IDs or children never leave your device. Large images (very high megapixel scans) can use a lot of memory on a phone, so convert them in smaller batches. For the reverse direction, see WebP to PNG and PNG to JPG.
Choosing between JPG, PNG and WebP
JPG is the right target for photographs that need to open anywhere. PNG is better for screenshots, logos and anything with text or transparency, because it is lossless. WebP is smaller than both for most web uses but is less universally accepted by older software. A quick decision rule: if the image is a photo and the destination is a form, email or printer, choose JPG; if it is a graphic you will edit again, keep PNG; if it is for your own website, try WebP and compare sizes.
The size line in the converter is your guide. When JPG makes a photo much smaller, it is the right choice; when it makes a flat graphic bigger, keep the PNG. Testing a single representative file before you convert a whole folder saves time and disk space.
When a JPG is the wrong choice
Some pictures suffer when saved with lossy compression. Line art, screenshots with text, diagrams and anything that will be edited repeatedly are better kept in a lossless file. Each re-save of a lossy file adds small errors, and sharp edges develop a halo of speckles. If you need a small file for the web, a modern format may beat both options.
- Keep an original copy before any change.
- Use a high quality setting for photos that will be printed.
- Check detail at full size, not only in a thumbnail.
- Avoid saving the same file over and over.
For size comparisons, which of the two suits each kind of picture explains the trade-offs, shrinking an oversized lossless file shows a practical case, and compressing a photo for a website helps pages load sooner.
A quick routine for a batch
Collect the files in one folder, drop them into the tool, choose a quality of about 85, check one result at full size and download everything as an archive. Rename the files if they will be uploaded to a portal that dislikes spaces or capital letters. Finally, delete the intermediate copies you do not need so the folder stays tidy and you always know which version was sent.
Metadata and privacy in photos
Pictures from phones often carry location, device and time details. Converting does not always remove them, so strip them before posting publicly. Removing EXIF metadata from photos explains what is stored and how to clear it.
Preparing files for upload forms and email
Many portals set a maximum size, typically between 200 KB and 5 MB, and a minimum pixel width. Read the instructions before you start so you can hit both limits in one pass. If a form says to upload a clear scan of a document, a quality near 85 usually keeps small print legible while shrinking the size to a fraction of the original.
When a file is still too big, reduce the pixel dimensions first rather than lowering quality further, because very low settings introduce blocky artefacts that make writing unreadable. Name the file plainly, avoid accents and spaces, and keep a backup of the unchanged original in case the office asks for another version.
Keeping colours accurate
Photos shot on modern phones can use a wide gamut that some programs display dully. Open a test file in the apps your audience will use, compare skin tones and skies, and adjust if needed. Printing services often ask for a standard profile, so check their guidelines before you order a large run.
Planning an archive of family or work photos
Large collections benefit from a plan. Decide which pictures deserve a high-quality master, which only need a small shareable copy, and where each version will live. Name folders by year and event, add a short note describing the contents, and keep backups on two different devices. A tidy structure means you can find a picture in seconds when someone asks for it, and you can safely discard duplicates because you know which copy is the original.
Step-by-step
Common mistakes to avoid
Pro tips
Frequently asked questions
How do I convert a PNG to JPG for free?
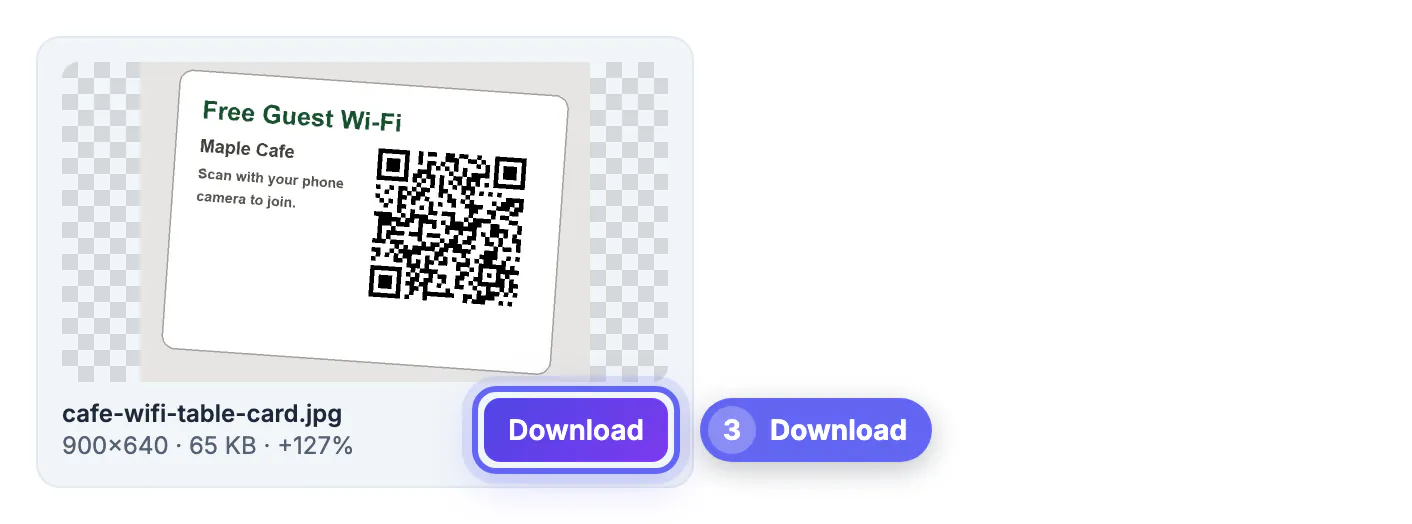
Open the PNG to JPG tool, choose JPG, add your file and download the result. It runs in your browser.
Why is my JPG bigger than the PNG?
Flat graphics compress very well as PNG. JPG's photographic compression is a poor match, so the file can grow. Photos usually shrink.
What happens to transparency?
JPG cannot be transparent. The transparent areas are filled with the background color you choose, white by default.
What quality should I use?
80 to 90 is a good range for photos. Use higher for images with text.
Are my images uploaded?
No. Conversion happens in your browser.
Converting to JPG is quick, but the result depends on the image. Use it for photos, choose a background color for transparent areas and always read the size line, because a flat graphic can get bigger, not smaller.
Related guides
Browse more: all image guides · PNG to JPG Converter