Make a White Background Transparent in Seconds (Free)
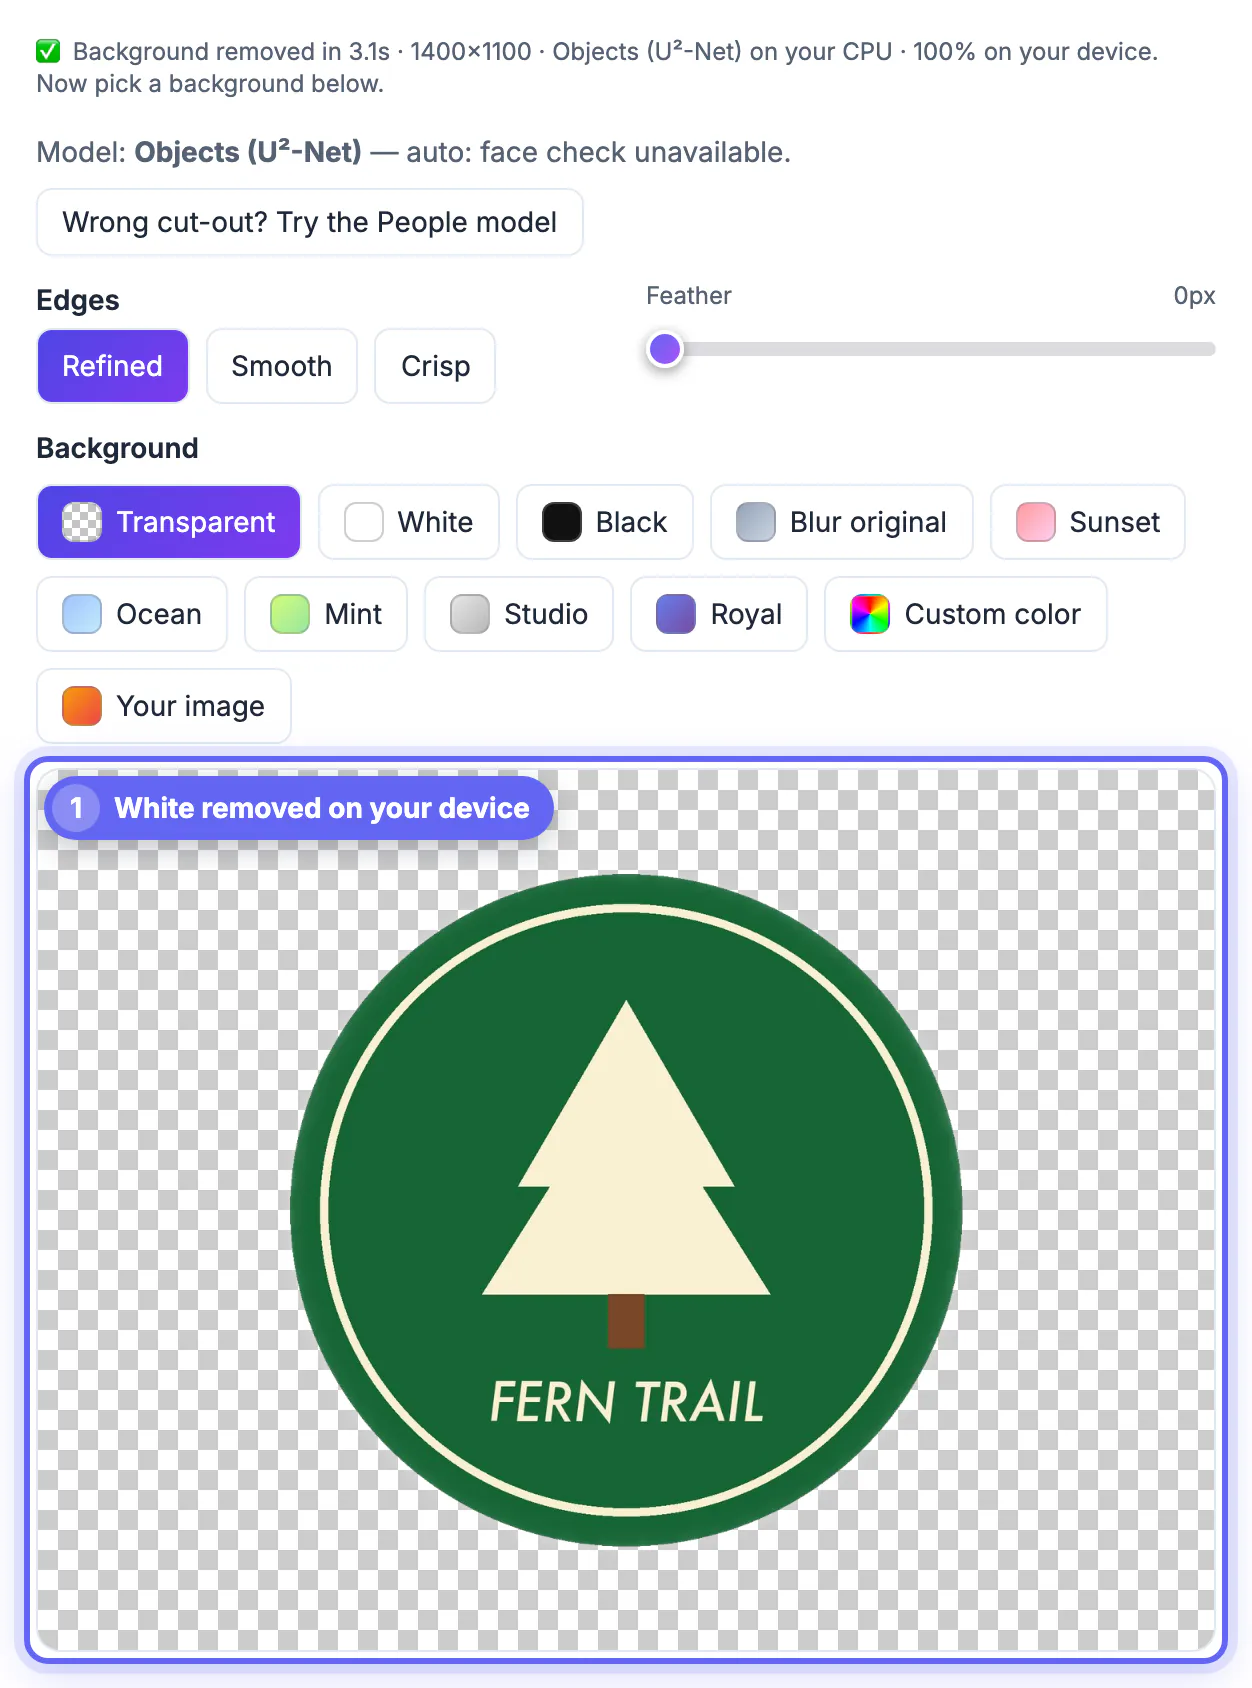
To make a white background transparent, upload the image to a background remover, let it cut out the subject, check the edges on a dark backdrop and download the result as a PNG. GrabCast's free Remove Background tool does this in your browser with an AI model, so the picture is not uploaded: a badge logo on a white box was cut out in about 3 seconds in our test. This guide explains the steps with screenshots, why PNG (not JPG) must be the output, how to spot leftover white fringes by checking on black and what to do when the cut-out drops part of the picture, which happened when we tried a logo with a text wordmark.
🪄 Try Remove Image Background now — freeOpen →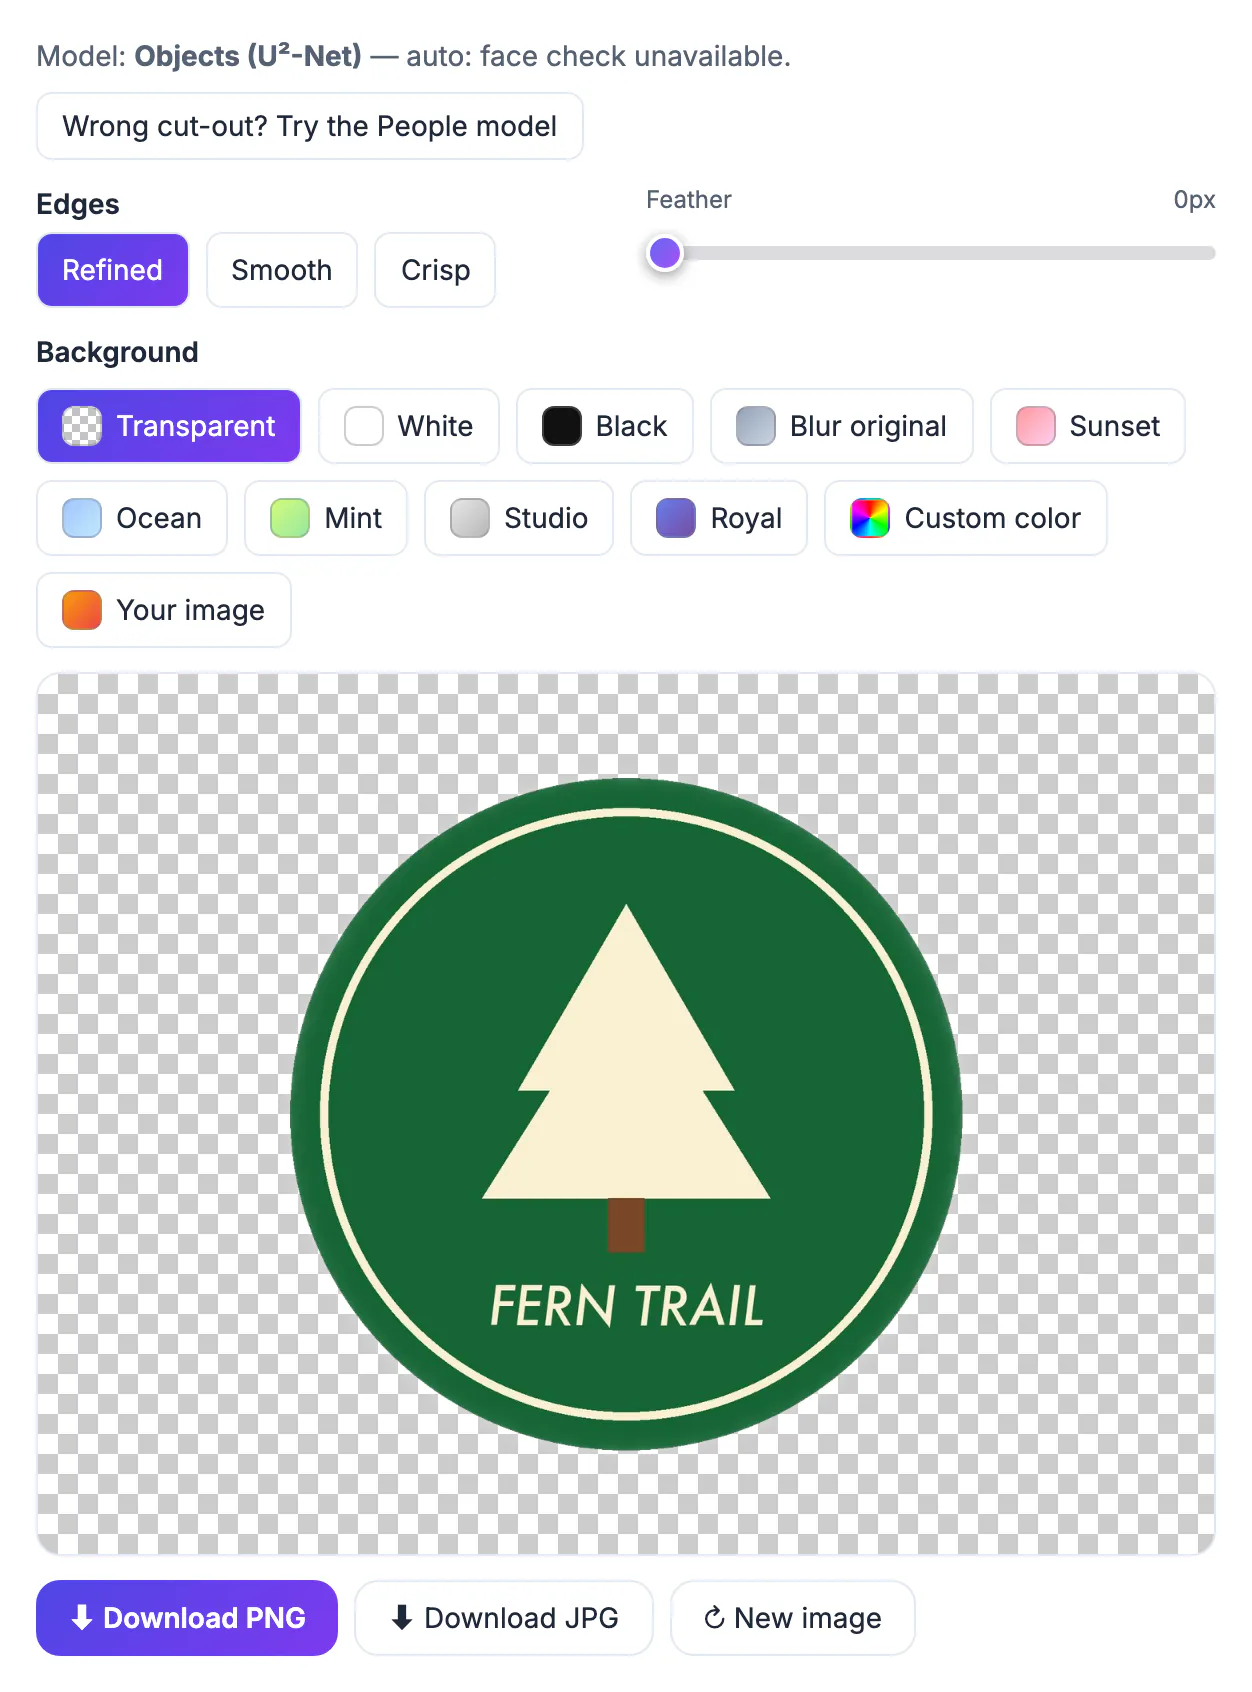
A logo or product photo with a white rectangle looks fine on a white page and terrible on anything else: a colored slide, a website header or a printed sticker shows the box. Making the background transparent lets the image sit on any color. It is one of the most common small design jobs, and it can be done in a few seconds if you know what to check.
AI cut-out versus simple white removal
There are two approaches. A simple color-keying tool turns every white pixel transparent, which works for flat logos but also removes white inside the artwork (eyes, highlights, letters). An AI cut-out looks for the main object and removes everything else, keeping the white parts of the subject. GrabCast's tool uses the second approach (an on-device Objects model, with a People model you can switch to if the cut looks wrong). The badge in the example kept its cream tree and ring, because they are part of the object.
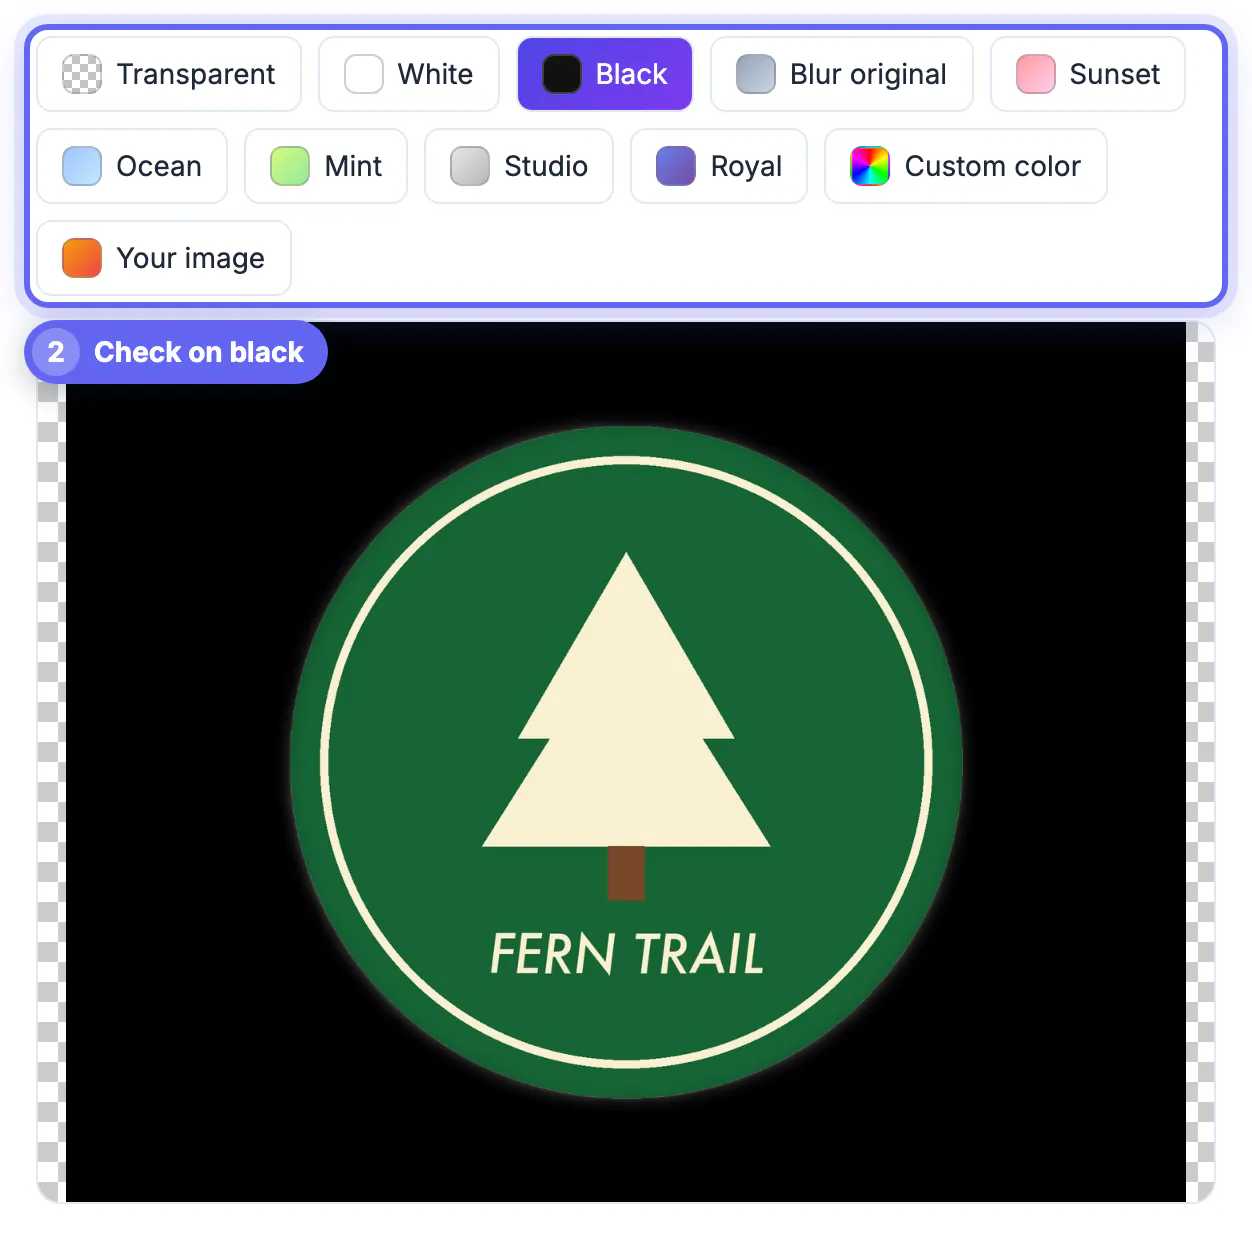
Check the edges on black
The checkerboard hides problems. After the cut-out, click Black in the Background row: a light halo around the shape means some white was left at the edge. In our test the badge looked clean, with only a faint pale glow around the rim. If you see more, try the Crisp or Smooth edge setting, or nudge the feather slider, and check again. Also check on white, since dark fringes appear on light pages.
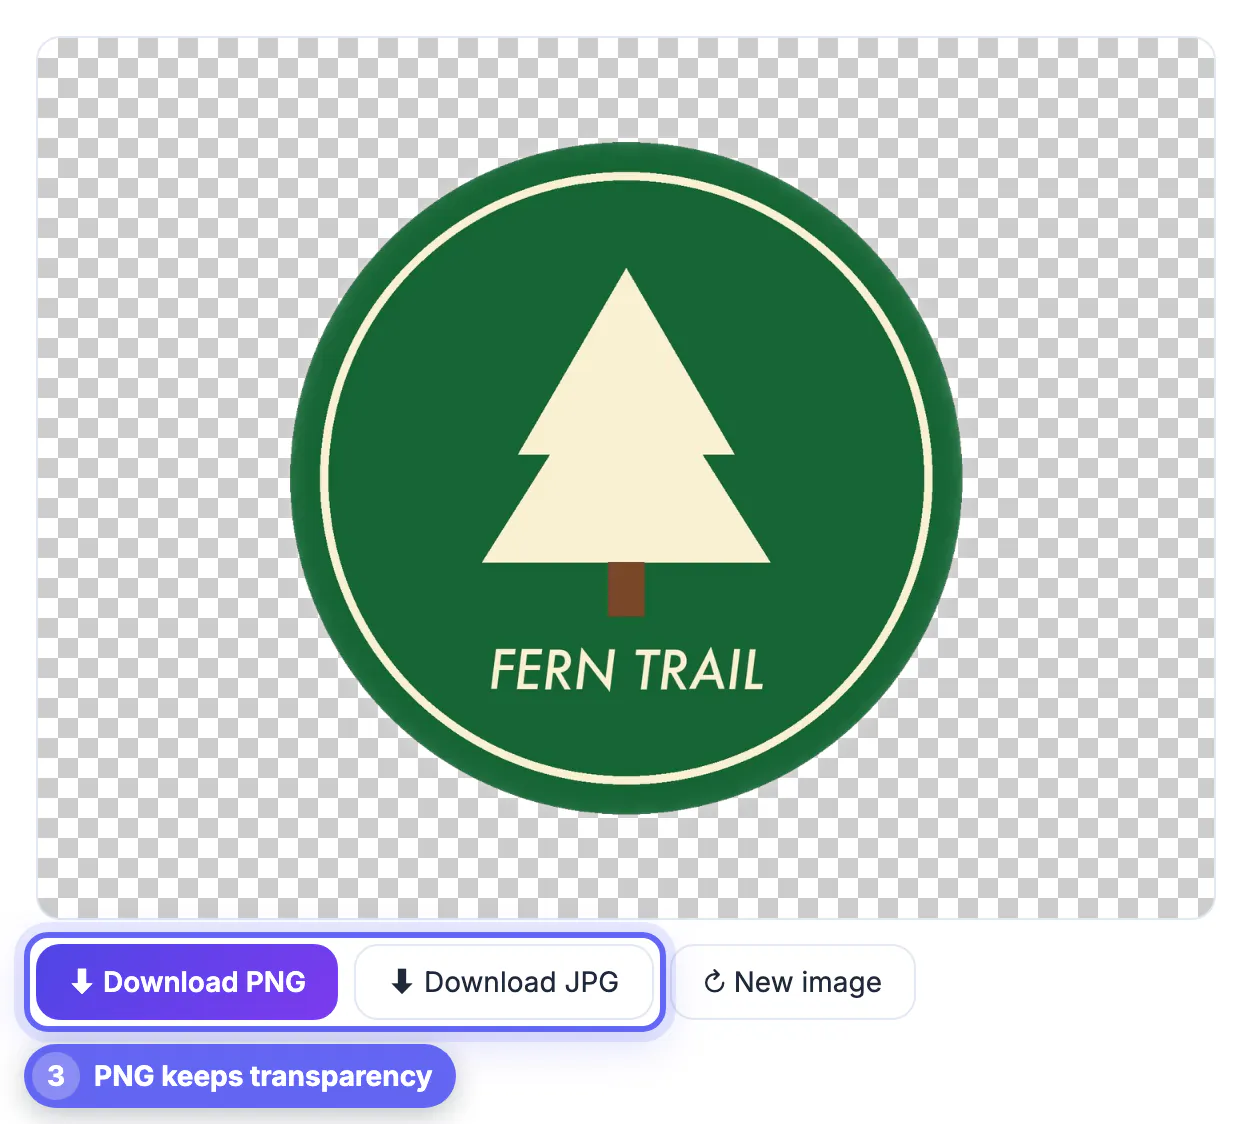
Download as PNG
Only PNG (and WebP) keep transparency. Click Download PNG; the JPG button fills the transparent area with a color, which is the opposite of what you want. For very large images the result may be reduced in size; the tool reported the processed size (1400 × 1100 for the badge) at the top. Keep the original file too, in case you need to redo the cut with different settings.
When the cut-out goes wrong
AI models choose the most prominent object, so thin or separate elements can disappear. When we tried a bakery logo with a symbol and a text wordmark, the model kept the symbol and removed the words. If that happens, try the other model, crop the image so only the artwork remains, or use a color-key approach for flat logos. Complex hair, glass and shadows are also difficult. Always view the result at full size before using it, and see how to make a transparent logo for logo-specific tips.
What to do with the transparent PNG
Place the PNG on any color in a presentation, a website, a document or a design tool, and the shape sits directly on the background. For websites, add a little padding and consider converting the PNG to WebP to reduce size while keeping transparency (see PNG vs WebP). For printed stickers or merchandise, ask the printer which formats they accept: many prefer a vector file (SVG or PDF) for logos, in which case the PNG is a stand-in, not a replacement for the original artwork.
If the image is a product photo, you can also pick a colored or blurred backdrop directly in the tool, which saves a step when you only need a clean, consistent background for a shop listing.
Preparing the picture for a cleaner result
A good cut-out begins with a good source. Use the largest version of the file, make sure the subject is sharp and well lit, and avoid shadows that blend into the background. Photos of items on a plain white sheet give crisp results, while items that are themselves white, such as a cup on a white table, are harder because the edge has little contrast.
- Retake the picture on a contrasting backdrop if the edge is unclear.
- Crop away other objects so the tool knows what to keep.
- Use even lighting to avoid grey shadows on the white area.
- Keep a copy of the original in case you need a different cut.
Other guides cover removing an image background in under a minute, product photo background removal for marketplaces and doing it on a phone without an app.
Using the transparent file in different places
Web pages, slides and printed designs all handle transparency differently. Websites and presentation software show it correctly, while many email clients and print workflows add a white box. If the destination does not support transparency, place the shape on a matching colour before exporting.
Fixing rough edges after the cut
If the result has a faint outline, try zooming in and erasing the halo with a soft brush, or shrink the selection by a pixel or two. On hair and fur, a slightly feathered edge looks more natural than a hard one. Always check the file on both a light and a dark background before using it publicly.
Step-by-step
Common mistakes to avoid
Pro tips
Frequently asked questions
How do I make a white background transparent?
Upload the image to Remove Background, check the cut-out on black and download as PNG.
Why is my background still white in the downloaded file?
You may have saved a JPG. Only PNG or WebP keep transparency.
Does the tool upload my image?
No. The AI model runs in your browser.
Can it remove white inside my logo too?
It keeps white that is part of the object, such as a ring or letters, but check the result, as models can drop thin details.
Is it free?
Yes, with no sign-up and no watermark.
A transparent background needs three checks: a clean cut-out, edges that look right on black and a PNG download. Test the result at full size, and be ready to try another model or crop when a logo loses its text.
Related guides
Browse more: all image guides · Remove Image Background