WebP vs JPG: Which Is Better for Your Photos?
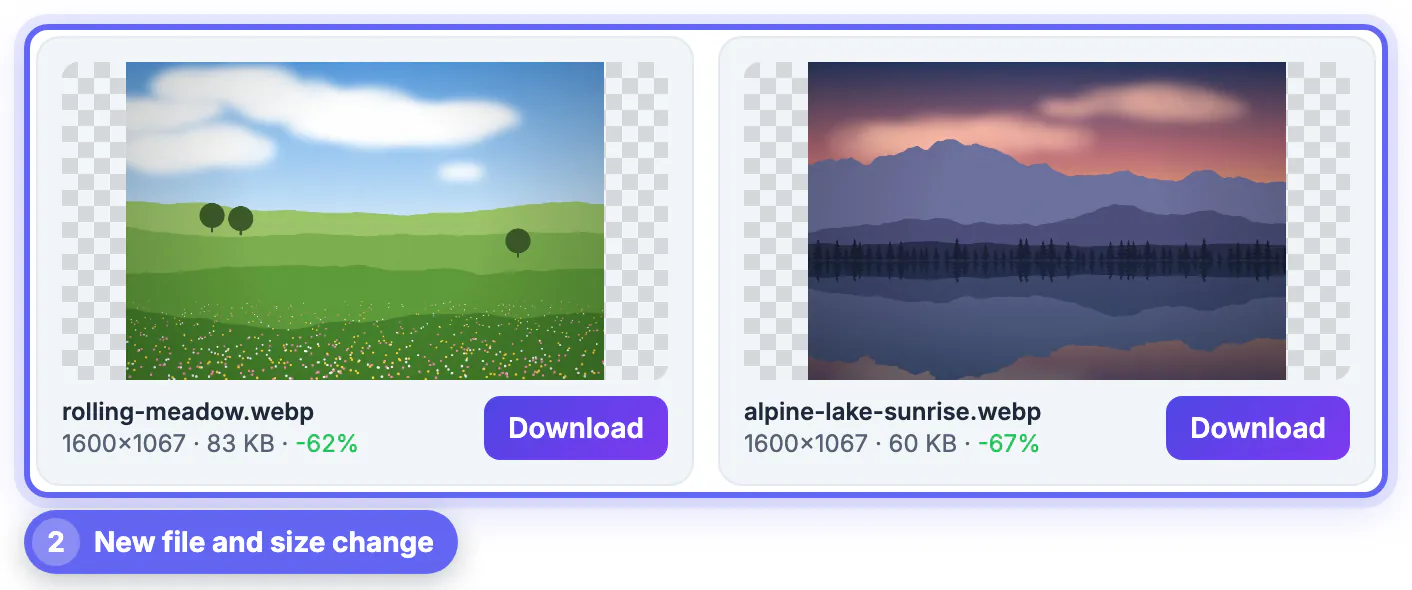
WebP is usually better than JPG for the web: at similar visual quality the file is smaller, and it also supports transparency and animation. JPG is better when you need to share photos with older software, print shops or upload forms that only accept it. In our test, GrabCast's converter turned a 1600 × 1067 meadow photo into a WebP that was 62 percent smaller (83 KB) and a lake sunrise into one that was 67 percent smaller (60 KB), both at quality 82. This guide compares the formats, shows how to test your own photos and explains when each one is the right choice.
⚡ Try Image to WEBP Converter now — freeOpen →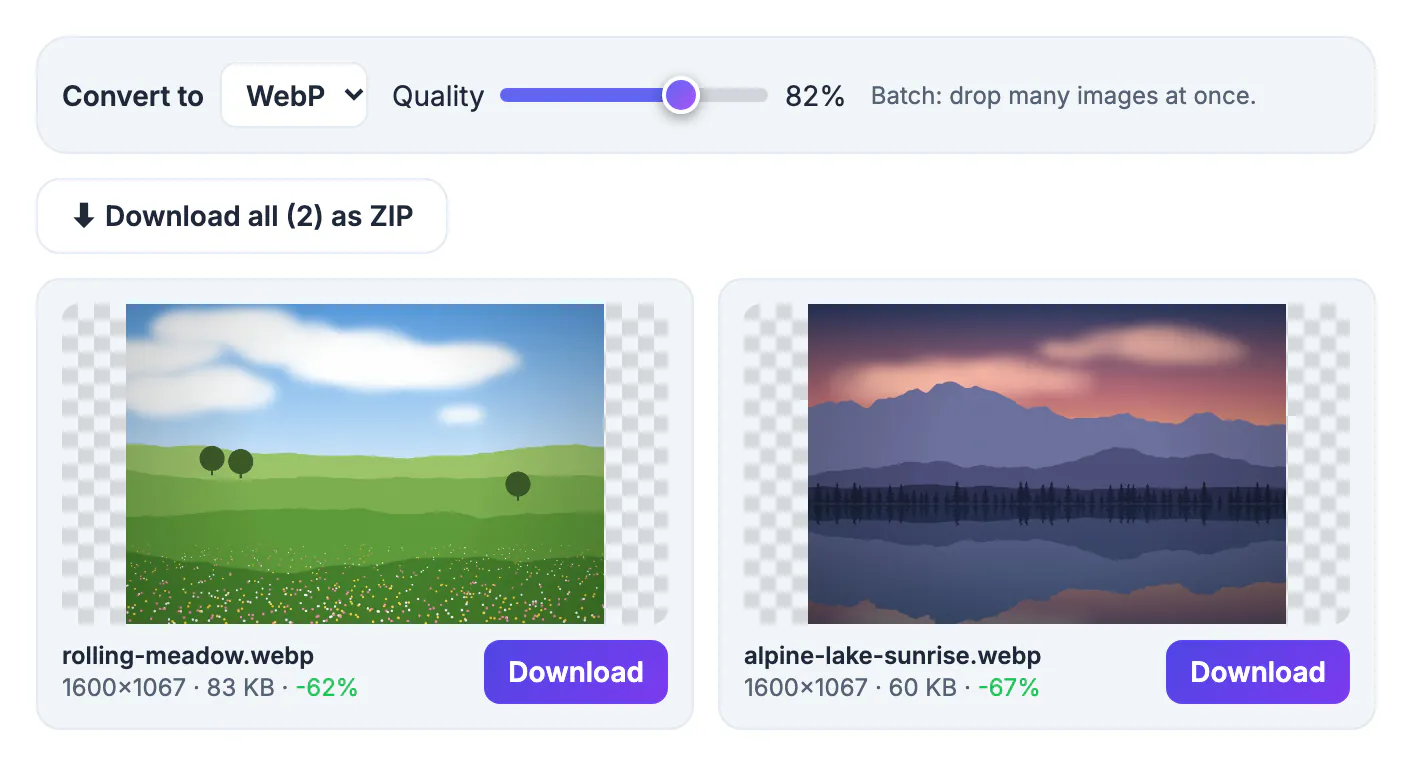
JPG has been the standard photo format for decades; WebP was created to make web images lighter. If you run a website, blog or shop, smaller images mean faster pages. If you send photos to people or services, compatibility matters more than a few kilobytes. Testing the same photo in both formats takes a few seconds and answers the question for your own images.
WebP vs JPG: size and quality
Both are lossy for photos: they discard detail the eye barely notices. WebP's compression is more efficient, so it reaches the same visual quality with a smaller file, or better quality at the same size. In the example, at quality 82, the meadow photo came out at 83 KB and the lake at 60 KB, savings of 62 and 67 percent against the original JPGs. Results vary by image; noisy photos save less than smooth landscapes like these.
Look at the images at full size. Very high quality settings shrink the advantage, and very low ones show blocky artifacts in either format.
Features
- Transparency: WebP supports it, JPG does not.
- Animation: WebP supports it, so it can replace some GIFs; JPG cannot.
- Metadata: both can carry camera details, but conversion may drop them.
- Progressive loading: JPG supports it; WebP images load fully then render in most browsers.
Compatibility
All current major browsers display WebP. The problems are elsewhere: older photo editors, some print services, email marketing tools, document software and upload forms that check the file extension. JPG opens everywhere. If you are unsure where the file will end up, keep JPG as the shareable version.
A practical rule
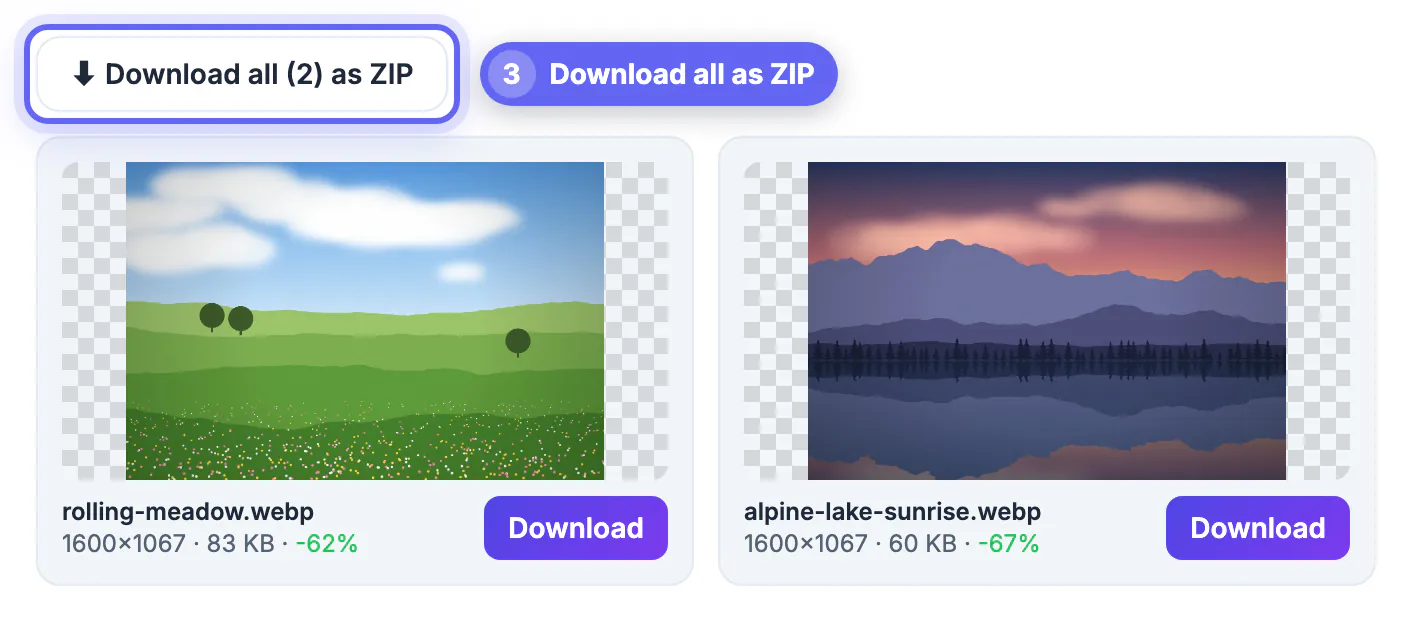
Use WebP for images you publish on your own website or app; use JPG for images you send to other people or systems. Keep the original camera file as your master. If you publish WebP, the older-browser risk is small, but a picture element with a JPG fallback covers it. To convert, drop your JPGs into the Image to WebP tool, choose a quality and download; the tool lists the size change next to each file. For the other direction see WebP to PNG, or read PNG vs WebP and image optimization for speed.
How to test your own photos in a minute
Pick three photos that represent your work: one simple (a landscape or a plain background), one detailed (a crowd, foliage or text in the scene) and one dark. Convert each to WebP at quality 80 and 90 and note the sizes. Simple images will show the largest saving; detailed ones smaller. View each pair at 100 percent zoom, looking at edges and gradients such as sky, where banding appears first.
Choose the lowest quality where you cannot see a difference, and use that setting for the whole batch. If you publish on a platform that already converts images for you, check whether it recompresses uploads; uploading a very high quality file is sensible then, since the platform will make its own copies.
What about AVIF and other formats?
Newer formats such as AVIF can be smaller still than WebP at the same quality, but they take longer to encode and are supported in fewer tools. For most people the practical choice today is between JPG for maximum compatibility and WebP for a modern, lighter web copy. If you build websites, you can offer several formats with the picture element and let each browser choose the best one it supports; if you just want a simple rule, WebP for your own site and JPG for everything you share is a sound default.
Settings that give equal visual quality
Quality numbers are not comparable between formats. A JPG at 80 and a WebP at 80 do not look the same, and the WebP is usually smaller. To find an equal pair, save the same photo at several levels, view them side by side at actual size and pick the lowest setting where you cannot tell the difference on skin, sky and fine texture. For many photos that lands around 75 to 82 for the newer format and 85 to 90 for the older one.
- Check faces and gradients first; they reveal compression damage soonest.
- Compare at 100 percent zoom, not a thumbnail.
- Write down the pair of settings you choose and reuse them.
Practical steps for a photographer or small shop
Keep the camera original as the master and never overwrite it. Export one large JPG for clients and print labs, and a smaller WebP for your website. If you sell prints, the lab will usually ask for the older format, and a mismatch can delay an order. When you publish a gallery, resize to the largest width your layout shows, because uploading a 6000 pixel file to display it at 1200 wastes bandwidth for every visitor.
Related reading: how JPG and PNG compare and how to shrink a photo so pages load faster.
Watch-outs for sharing and archiving
People you send files to may not be able to open the newer format in older programs, so send the universal version when in doubt. For long-term archives, favour formats with wide support and keep the original untouched. Check that metadata such as capture date and copyright survives any export, since some tools strip it silently, which can cause trouble when you try to prove authorship later.
A short decision rule you can pin up
Ask who will open the file and where. A visitor to your site with a recent browser gets the smaller version. A printer, a client or an upload form gets the universal version. Keep the untouched original in both cases, and never publish a copy that you cannot regenerate. Writing this rule on a sticky note near your desk prevents the mix-ups that cost the most time.
Step-by-step

Common mistakes to avoid
Pro tips
Frequently asked questions
Is WebP better than JPG?
For the web, usually: smaller files at similar quality, plus transparency and animation. JPG is more compatible.
How much smaller is WebP?
In our test two photos were 62 and 67 percent smaller at quality 82. Results vary by image.
Will WebP work everywhere?
All current major browsers support it, but some older programs and forms do not.
Does converting reduce quality?
Converting a lossy JPG to lossy WebP loses a little more detail, so convert from the original when possible.
Is the converter free?
Yes, and it runs in your browser without uploading your files.
WebP wins on file size and features, JPG wins on compatibility. Convert your own photos, compare at full size and use WebP for the web and JPG for sharing.
Related guides
Browse more: all image guides · Image to WEBP Converter